🎉 Exciting News: Home X is now Kahuna Comfort Plumbing, Heating & Air! 🎉

Why Is Water Leaking From The Bottom Of My Water Heater?

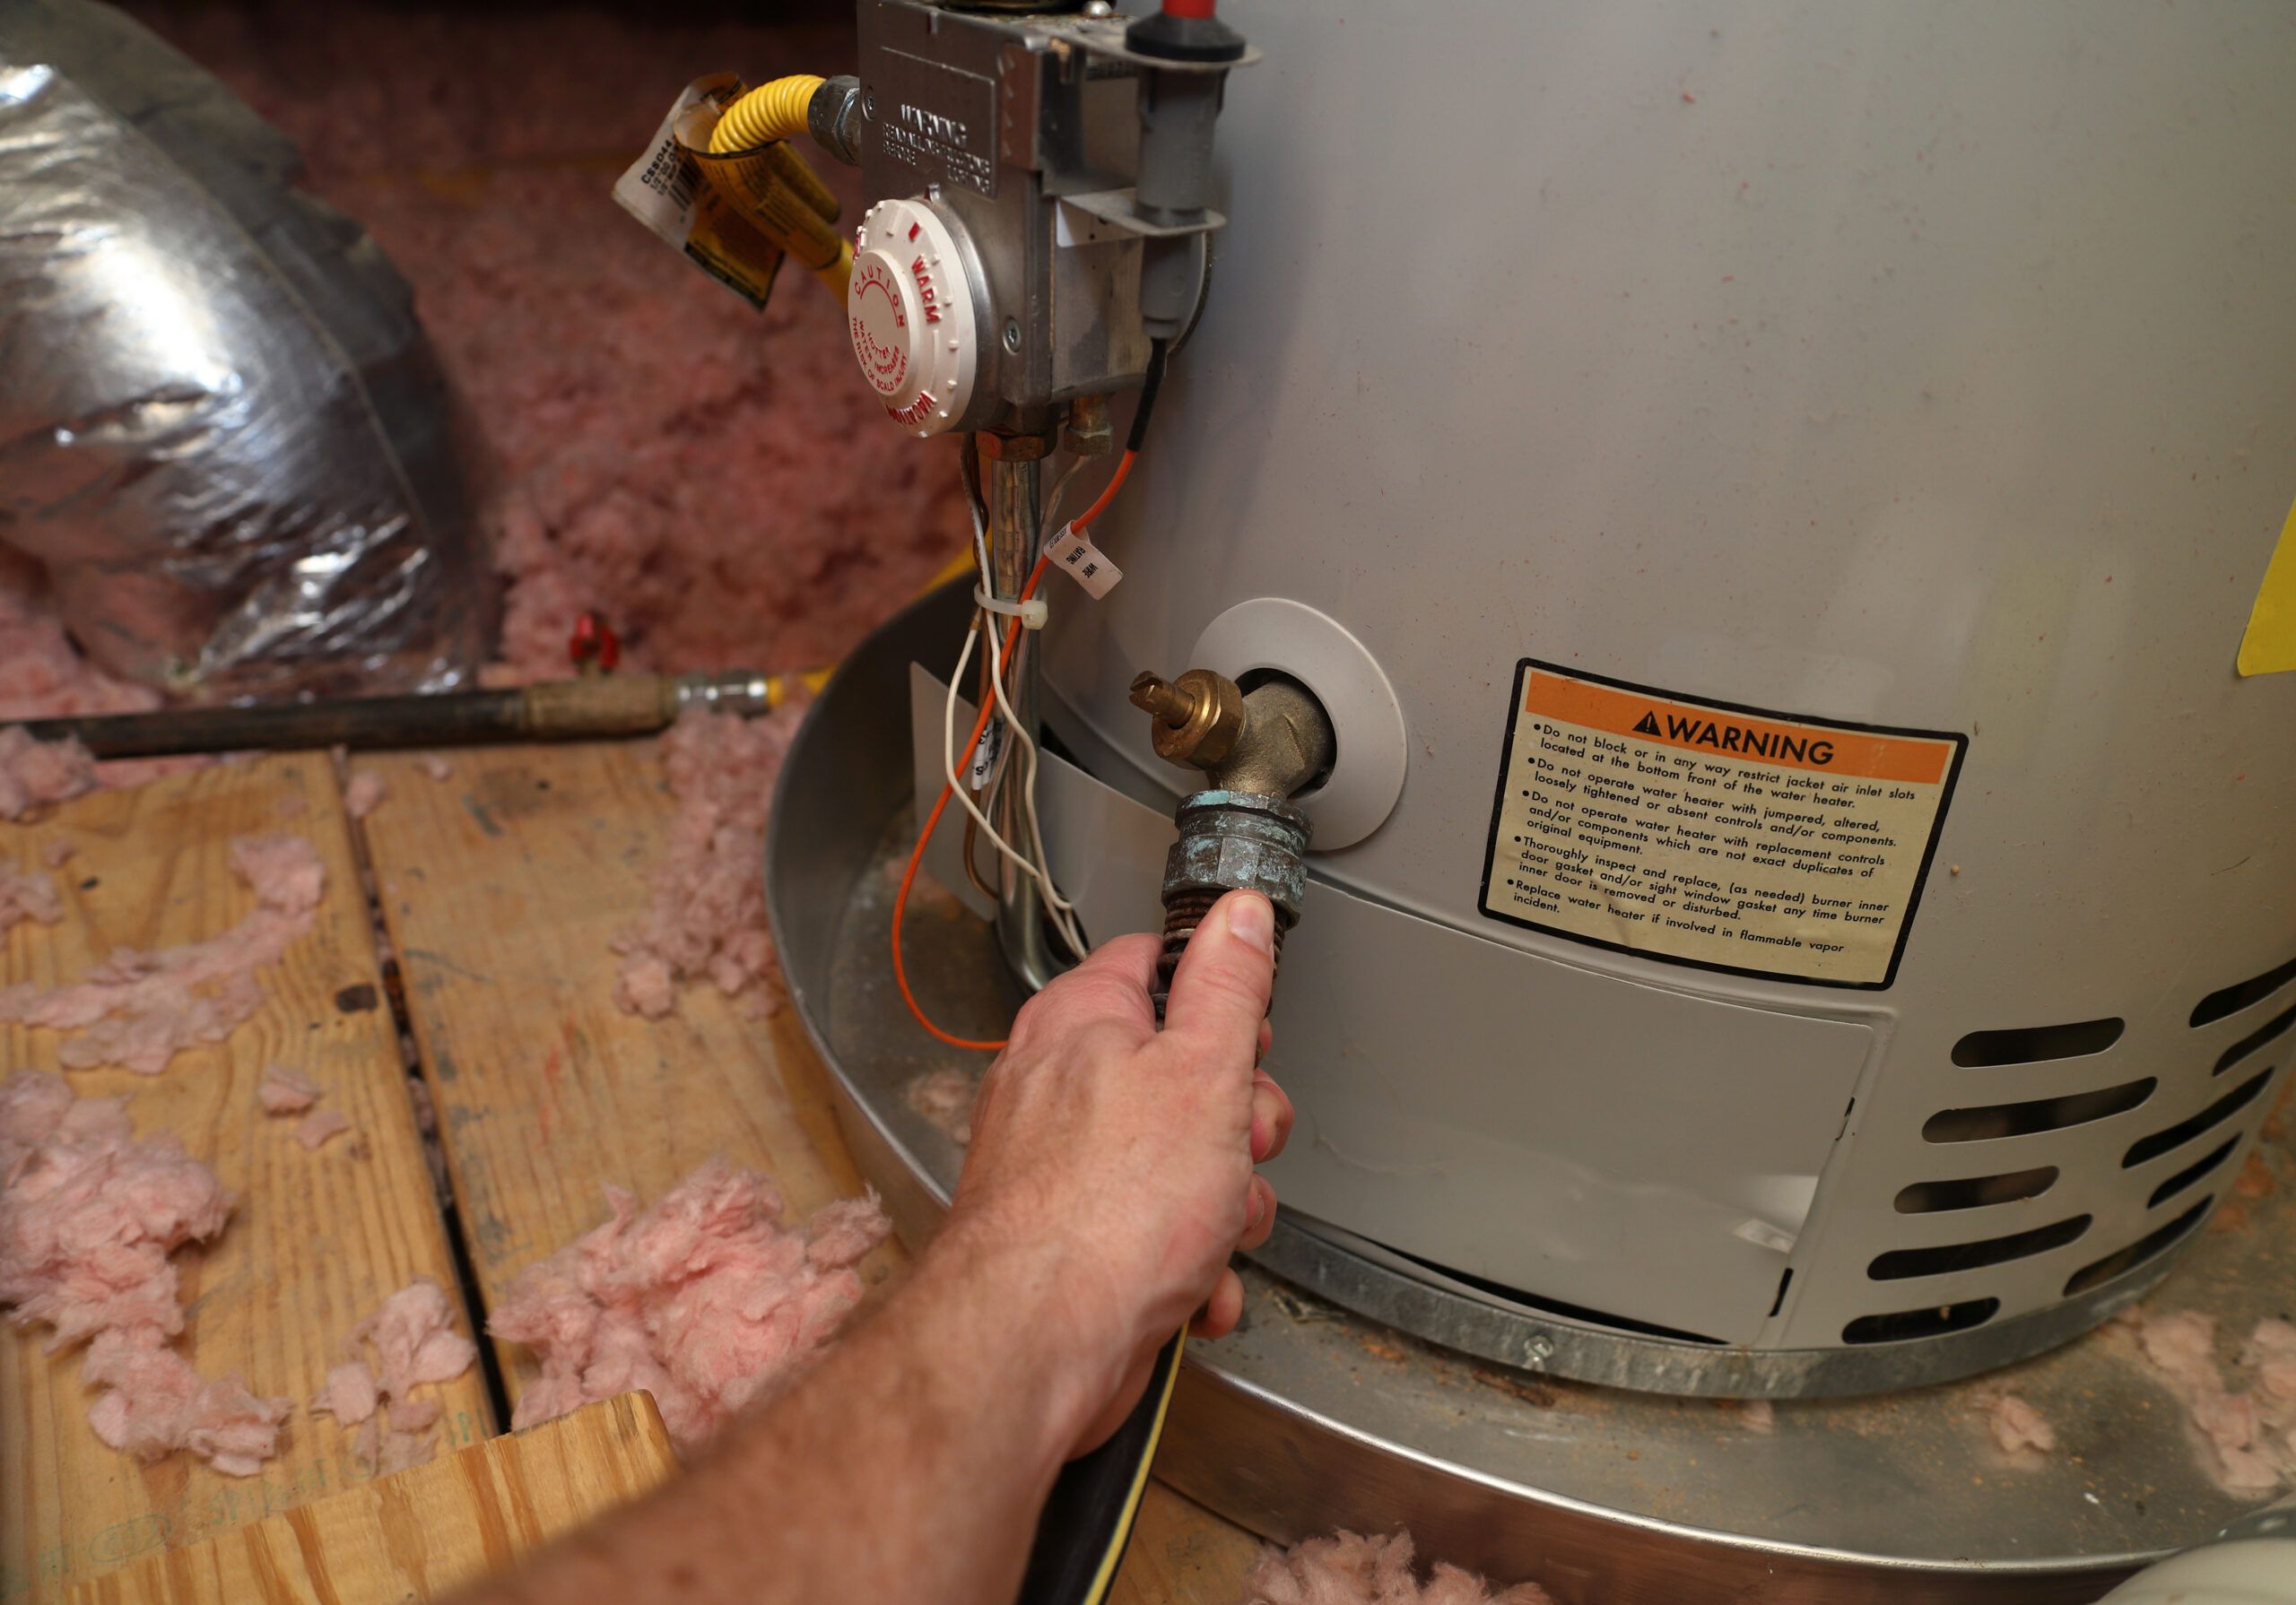
Imagine this scenario: You arrive home after a long, exhausting day of work, and all you want to do is take a hot shower and unwind. You hop into the bathroom and turn on the faucet with gusto. A measly trickle of water is all that gurgles out of the shower head. You try not to panic as you make your way down to the basement to check on your water heater. Much to your dismay, there is water leaking from the bottom!

At HomeX Plumbing and Rooter, we are all too familiar with these kinds of plumbing inconveniences. If you’re looking for certified plumbers who are experts when it comes to water heater installations and repairs, our dedicated team members are the ones for you! We offer reliable services for all household plumbing emergencies and can get the job done right, no matter what. Keep reading for more information about how we combat water heater leaks or continue to browse our website at any time!

Water Heater Abnormalities You Should Watch Out For

Figuring out how to identify signs of a leak in order to prevent permanent water damage in your home is essential. Some issues you should pay close attention to are:

  • The age of your water heater
  • Running out of hot water quicker than normal
  • Erratic water temperature
  • Low water pressure
  • Water stains or wet spots
  • Mold growth
  • Discolored or rusty water coming from your appliances
  • Sky-rocketing water bills

Malfunctions You Can Fix

Though water heater repairs can seem complex and complicated, there are a few problems you can fix yourself. These include:

A Tripped Switch

If your water heater is not generating hot water, this may mean a switch has been tripped, and the device is not getting enough power to function properly. Checking the unit’s heating elements and ignition could reveal the problem. A tripped switch can also result in too much hot water, requiring your thermostats to be reset.

Loose Parts

If you spy water dripping from your heater or the pipes connected to it, this could be a sign that a major leak is on its way, if left unchecked. Examining your tank and all its connecting parts may help you identify pieces and components that need tightening or replacing due to corrosion.

When To Call A Professional

Some specific situations in which it’s best to hire a plumber are when your water heater needs a valve replacement or is emitting strange noises. Valve replacements can be tricky processes that involve many steps, including turning off your heater’s power and draining the tank. It is often smarter and more efficient to schedule an appointment with a professional plumber because they have the right tools and experience for the task.

If you hear unusual sounds coming from your water heater, this may indicate that elements within your device are broken and need replacing before the unit is damaged. Hiring a professional to flush your system and perform a maintenance checkup can save you lots of money on repairs in the long run.

Contact HomeX Plumbing And Rooter Today!

Don’t let your water heater leaking keep you from enjoying a nice, hot shower. HomeX Plumbing and Rooter can fix your unit at any time! Contact us through our website to set a date for annual maintenance, or give us a call today!

3 Reasons Your Garbage Disposal Smells

There’s nothing more unpleasant than walking into your kitchen and being hit with the lingering smell of last week’s food scraps. Your first instinct is to glare at your trash can in disgust, but we’ll save you time and tell you that it’s not your trash can to blame. Your garbage disposal is the one to worry about.

The way your garbage disposal smells can tell you whether or not the problem is food not being disposed of correctly or if a more serious issue is at hand. HomeX has found that many smelly garbage disposal situations can be solved in a few easy ways.

Read below to find out how you can cure and avoid offensive smells lingering at your disposal.

Rotting Food

Sharp smells are often caused by rotting or decaying food that has become stuck on the disposal blades or crusted onto the drainage pipes. The best way to ensure your food does not become stuck on any surface is to confirm the scraps are properly ground and flushed in the following ways: 

  • Run cold water down your drain before raking in the food
  • Turn on hot water as you shovel the scraps into your disposal
  • Have your disposal go for 30 to 40 seconds to ensure everything is ground and drained

Mold or Mildew

If your disposal smells like mold or mildew, those two have likely made a home down there. It is not uncommon for a dish rag or sponge to slip down your drain. Mold and mildew can quickly build up on items gone unnoticed in your system. 

If this happens, remove and dispose of the items. Sprinkle baking soda, vinegar, and warm water into your drain to eliminate the mold.

Oils and Fats

Flushing oils, greases and fats down your train is a tricky thing to do. These substances congeal and don’t slide through your pipes like any other liquid. 

This build-up can cause odors and clog your pipes by preventing other food from getting through. The next time you want to get rid of these items, allow them to cool and throw them in your trash can.

How To Clean Your Garbage Disposal

Your disposal should be thoroughly rinsed after every use, but it should get an intentional cleaning weekly. Here are some of the best ways to keep your disposal clean and odor-free.

Soap and Water

Hot water and soap go a long way in keeping your system clean. Use a grease-cutting soap, and coat it as best you can around the sides of your drain.

Garabge Disposal Pods

The pods have become an effective and popular option in maintaining disposal systems. Drop one of the cleaning pods as you run your disposal and flush with hot water.

Ice Cubes 

An excellent cleaning option is to use a cup of ice cubes. Pour a cup of cubes into your drain and turn on your disposal. The ice helps break away old food grime lodged in any of the system’s components. 

Baking Soda and Vinegar

We all know the old baking soda and vinegar science experiment, but it is far more than just your entertainment. The mixture will cause any stuck food particles to break down further. This method will also double as an odor eliminator due to the baking soda.

Is The Odor Still There?

If you’ve tried our tricks to beating the offensive smells and you’re still having trouble, you may need a garbage disposal repair. Call a plumbing expert to help you identify your issue. Consider a garbage disposal replacement as well. If you find that you are using your disposal frequently and using it to break down large quantities, you should consider that your home may need a more extensive system.

7 Leading Causes of Low Water Pressure in Your Home

Low water pressure can present itself in various ways, all of which can cause significant inconveniences. Taps may take forever to fill your bathtub, or the showerhead may not spray water efficiently. Either way, your daily activities are slowed down.

Sometimes the issue comes from the municipal water supply. Homes on these lines are often limited to a maximum water pressure that is determined by the municipality; if you feel a sudden change in your water pressure after a visit from your water meter reader, you can call and ask if they adjusted your water pressure.

In this case, the best way to deal with lower pressure to your home is to add showerheads and faucet heads that inject some air into your shower, which adds a bit of the pressure back in without needing to increase the water flow. This can be an economical way to lower your water bills anyway, as it gives you the pressure you crave without using as many gallons per hour.

If the water pressure is not caused by municipal settings, then it is probably due to something in the home. You can experience low water pressure in one area of the house or the whole house. When the whole house is affected, then it means that a bigger problem is at hand. When you notice a change in water pressure, the best thing to do is to contact a plumber to help you diagnose the cause. If there is leakage, then first terminate the water flow at the main valve.

So, what plumbing issues can bring about low water pressure?

1. Outdated Fixtures

An outdated fixture is one of the most common causes of low water pressure homes. Old galvanized steel water pipes can corrode so much that they significantly restrict the water flow. A build-up of mineral deposits such as sediments and limestone can obstruct the fixtures, preventing water from flowing freely.

This doesn’t only impact the water pressure, but it can also affect your water quality. Although the water pipes corrode on the inside, you’ll tell when it happens even without seeing the scale build-up. The build-up of materials inside your pipe can gradually close the line.

This problem takes years to develop. That’s why water pressure reduction is very gradual. However, if you move into a home with outdated steel pipes, the issue may start sooner.

2. Faulty Pressure Regulators

Pressure regulators are control valves that regulate the pressure in your piping system. They play a significant role in reducing the pressure to a safe level that won’t damage your pipes.

These appliances aren’t found in all homes, but a failing or clogged regulator can lead to low water pressure. You might also experience the opposite effect: a spike in water pressure.

Although you can replace a pressure regulator all by yourself, it’s in your best interest to have it checked out by a professional. A licensed technician can assess the situation and either fix the control valve or install a new one.

3. Water Valves

Generally, you have two main shut-off valves that control your home’s water flow, one at the meter and the other inside your home. If any of these valves are entirely or partially turned off, it will reduce your water pressure.

When your water is temporarily shut off then turned on again, one of the valves can accidentally remain partially closed. If you suspect that a closed water valve is the reason for low water pressure, then check both the main valves to ensure that they’re fully opened.

4. Clogged Water Pipes

What happens if you first turn on your faucet? Does the water spray out at normal pressure then immediately slow down with noticeably less pressure? If yes, then your water pipes might be clogged.

Generally, pipes become clogged over time as rust, mineral deposits and other debris builds up inside the lines. This, in turn, restricts the flow of water. Clogging often occurs in galvanized pipes. That’s why they’re no longer a common material for new pipes. However, it used to be the material of choice, and you can still find them in many homes.

Some of the clogging materials include sand, water minerals, pollutants and dirt. These materials can get into your water pipes via your sink, or through small pipe cracks. Clogging can happen often if your pipes are also closer to or above the ground.

5. You Share Pipelines

Shared pipelines are those that supply water to more than one house. This means that your water pressure will be reduced if your neighbor is washing a car or taking a shower. This is much more common in apartments than in homes with individual water supplies, but it can happen with a shared well line.

Here, changing your routine and experimenting with your timing might help.

6. Leaking Pipes

A pipe leak can significantly lower the water pressure in your home. While large leaks are easy to spot in your home, smaller leaks that are intermittent with the use of water that is not always on, like from a garden hose line or the drain of your washing machine, may be harder to notice until they become larger.

Leaking pipes are often hidden behind walls or inside floors. However, you can find leaks on intake pipes by checking your water meter. If nothing in your house is using water but your meter is running, you have a leak. This technique doesn’t work on the outlet pipes that drain sinks and appliances, however.

A professional plumber can help diagnose and solve the problem effectively.

7. Corroded Plumbing

It’s one thing to have a small section of piping that needs replacement. However, in worse cases, your home’s entire piping system can corrode, requiring a complete replacement service. This can significantly reduce the water pressure in your home as flakes of corrosion can clog joints in your plumbing.

Another thing to check is whether to enlarge the branch lines. If you’ve made changes to your home’s plumbing fixtures, then the branch lines might be too small. So, although corrosion isn’t the problem in such a case, you’ll still experience the same effect of reduced water pressure. This is because the narrow interior of the branch line limits the flow of water in the pipe.

Consult a Professional

Low water pressure issues should be dealt with by a professional. After all, you don’t want to worsen things with DIYs. When you want to check on your Anaheim, CA, plumbing system or encounter a plumbing problem, reach out to HomeX Plumbing & Rooter.

We offer comprehensive commercial, residential, and emergency plumbing services such as drain cleaning and plumbing repairs. We want to take care of all your needs, including, but not limited to, reduced water pressure in your home. We’ve received A+ ratings with the BBB, and we’re highly rated on Angie’s List.

Contact us today for more information on our services and learn more about how we can help you enjoy high water pressure all year round.

7 Symptoms Of A Gas Leak

Natural gas burns relatively clean, but is extremely dangerous if something goes wrong with furnaces, gas pipes, fireplaces, stoves, or water heaters that use it. About 177 million people in the U.S. use natural gas, according to the American Gas Association. Even though gas leaks are uncommon, this number means at least a few households will experience a problem at any given time. When danger strikes, recognizing these symptoms of a gas leak can mean the difference between life and death.

1. Your House Stinks

By itself, natural gas has no odor. Gas companies add a chemical that smells similar to sulfur, called mercaptan. A rotten egg smell in your home therefore likely points to a gas leak. Without the additive, you’d never know gas is leaking, unless you experience or notice the following:

2. You Don’t Feel Well

In high levels, exposure can lead to natural gas poisoning. A gas leak also reduces the amount of oxygen in the air, which can lead to symptoms such as:

  • Eye and throat irritation
  • Headache
  • Nausea
  • Dizziness
  • Fatigue
  • Breathing difficulty
  • Loss of concentration
  • Memory problems
  • Loss of consciousness
  • Suffocation

If you touch compressed or liquid gas, your skin may blister or become pale. High levels of gas exposure can lead to unconsciousness or death. And pets too are susceptible to gas exposure, and will show many of the symptoms listed above if there’s a gas leak.

However, if you experience similar symptoms and/or chest or stomach pains, vision problems, or loss of muscle control, it may be carbon monoxide (CO) poisoning. Faulty natural gas appliances can leak CO, so installing carbon monoxide detectors can protect your household.

3. Gas Pipes/Appliances Are Hissing

If there’s a large gas leak, you may hear hissing sounds from a pipe or gas appliance. The noise will remain even if you turn the appliance off. Hissing sounds can also come from air conditioners, in which case they can signal leaking refrigerant, a bad compressor, or damaged valve. Call a technician whenever you hear any appliance or pipe hissing.

4. You Notice Bubbling Water

Water bubbling in a puddle or pond can mean an underground natural gas pipe is leaking. Bubbles in any wet area can signal trouble. You can test for a gas leak by mixing water with dish soap, wiping the suspected area with a cloth or sponge, and observing. If you see bubbles, call for emergency assistance.

5. Strange Clouds, Mist, or Fog

A ruptured gas line quickly releases gas, forming a white cloud, mist, or fog around your property. If a gas leak occurs, open windows and doors if you can. Leave the area at once and:

  • Don’t try to turn off the gas yourself.
  • Don’t look for the source of the leak.
  • Don’t use lighters, matches, or gas/electrical appliances.
  • Don’t start your car.
  • Don’t turn on the gas if it was shut off.

6. Dead/Dying Plants

Dead plants, stunted vegetation, or wilted flowers and shrubs may point to an underground natural gas leak in that location. Plants show symptoms of a gas leak because natural gas prevents roots from absorbing oxygen. More subtle signs can include yellowish grass and trees with smaller-than-normal leaves.

7. Gas Usage Has Increased

If the amount of gas used, as reflected on your monthly bill or gas meter, increases, or the pattern doesn’t reflect seasonal fluctuations, a leak may be present. It’s important to inspect natural gas appliances and equipment regularly. Yearly inspections can help prevent or fix problems that can lead to dangerous leaks.

Contact Home X

If you suspect problems with your gas plumbing or gas-using appliances, or experience the symptoms of a gas leak discussed above, our licensed technicians can find the source of the problem and fix it fast. Home X provides gas line repair and installation in Anaheim and surrounding areas. To request same-day or emergency service, call 714-924-3706 now.

7 Common Drain Issues

Drain issues sneak up on homeowners, because the drainage system often remains out of sight and out of mind — that is, until something goes wrong.

Drains are pivotal in maintaining the hygiene and functionality of our homes, but more often than not they are overlooked until problems arise.

Basic drain repair is a much more affordable service than an unnecessary major plumbing emergency job. Fortunately, your drains can tell you a lot about the state of your plumbing system. Many issues can start in or near a drain.

Plumbing emergencies can be avoided if you recognize these 7 signs of trouble and contact a professional plumbing service.

Slow Drainage

If water is draining more slowly, chances are the drain or pipe is clogged. Soap, grease, and hair can build up over time, so the problem may develop gradually. Since the growing blockage isn’t going anywhere, the symptoms won’t get better unless a professional drain cleaning is done. A plumber should check for pipe damage as well.

Slow Draining Sink

When it comes to slow draining sinks, both the bathroom sink and kitchen sink can be prime suspects. Using a drain strainer is a great way to prevent slow draining sink problems before they start.

When a bathroom sink the bathroom sink is draining slowly the common culprits are often strands of hair, small soap pieces, and toothpaste residue. These elements can bind together and create a blockage over time.

When the kitchen sink is draining slowly the issue is primarily from grease, food particles, and soap scum. Grease is particularly problematic as it solidifies inside the pipes and traps other debris.

If you notice water pooling around your sink rather than flowing freely, it’s a telltale sign that your sink drain is starting to clog. If the issue comes up even after you clean out the drain, it’s time to call in professional assistance to clear out the buildup effectively and make sure your pipes aren’t damaged.

Slow Shower and Bathtub Drain

The issue of slow draining in showers and bathtubs is a common annoyance that can escalate from a minor inconvenience to a significant plumbing problem.

Hair is the primary offender in these cases, often combining with soap scum to form a sticky, tangled mass that clings to the pipes. Over time, this accumulation not only slows the water drainage but can also lead to complete blockage.

Bath oils and other personal care products in showers and bathtubs can contribute to the buildup over time as well.

Pay attention to how quickly the water drains after a bath or shower. If you notice it lingering longer than usual, it’s a sign that a clog is forming.

Regular cleaning of the drain cover to remove hair and debris can help, but if the problem persists, it might be time to call in a professional. We can remove the blockage and also inspect for any underlying issues that might be exacerbating the problem.

Water and Waste Backup

A sink, toilet, shower, or tub backup may not only signal a drain problem, but that your sewer needs repair as well. It may be caused by corrosion, a pipe collapse, ground shifting, intruding tree roots, or many other issues. In these instances you need sewer services.

Don’t wait to address the problem because if sewage is coming out of your drains. That’s a recipe for sickness: bacteria, viruses, and toxins can enter your home.

Sink Water Backing Up

Water backing up in your sink is often more than just a simple clog; it can indicate serious issues with your home’s water system. If the backup is severe and accompanied by foul odors, it might suggest deeper issues such as pipe damage.

Act immediately when you notice water backing up in your sink. Ignoring it can lead to more significant problems, including potential health hazards from sewage exposure. A professional plumber can diagnose the issue, whether it’s a localized blockage or a more extensive sewer line problem.

Bathtub Backing Up

Bathtub backups often indicate a bigger problem than a simple drain clog. The cause of bathtub backups can range from accumulated hair and soap scum in the pipes to more serious sewer line issues.

If you notice that water is not draining properly or, worse, sewage is coming up through your bathtub drain, it’s a significant indication that there could be a blockage or damage in the main sewer line.

The issue is especially severe if other fixtures in your home are also experiencing backups, as this points to a systemic problem rather than an isolated one. Tree roots, shifting ground, or aged pipes are common culprits for such issues.

Sewage Backup

Sewage backup is one of the most alarming signs that your home’s plumbing system is in distress. Sewage backups aren’t just inconvenient and gross – they are a serious health hazard.

When sewage water reverses its course and enters your home it brings along bacteria, viruses, and toxins that can pose significant health risks.

This issue may manifest across multiple fixtures in the home, such as toilets, sinks, and bathtubs. The severity of sewage backups needs immediate professional intervention. Ignoring sewage backup is not advisable, as it can lead to extensive property damage and serious health issues for the occupants.

Foul Smells from Drains

When an unpleasant smell is coming out of your drains and plumbing fixtures, the culprits often include waste trapped in the drains or sewer gases. Sewage smells for many reasons. If it’s stuck in your drains rather than flowing through underground pipes, away from your home, get your drain repaired.

Kitchen Sink Odors

Foul odors emanating from the kitchen sink can be a distressing sign of underlying plumbing issues. Often, these smells are caused by the buildup of food particles, grease, and other organic matter that gets trapped in the drain.

Bacteria feeding on these substances can produce unpleasant odors, indicating the need for a thorough cleaning.

Regularly flushing the sink with hot water and mild detergent can help, but persistent smells might point to more significant issues like pipe damage or sewer gas leaks. If kitchen sink odors persist despite your cleaning efforts, it might be time to consult a professional plumber to identify and resolve the root cause.

Sewer Smell in House

A pervasive sewer smell in the house is a clear indicator of a serious plumbing problem. This unpleasant odor can be caused by various issues, such as a dry trap allowing sewer gas to enter the home, a blockage in the sewer line, or even cracks in the sewer pipes.

It’s crucial to address this issue promptly as sewer gas can contain harmful toxins and bacteria.

If you detect a sewer smell in your house, it’s advisable to seek professional help immediately to diagnose and fix the issue, ensuring the safety and comfort of your family.

Frequently Clogged Drains

Having to unclog a shower drain or plunge the toilet over and over again means there is a hidden problem. Drains naturally clog from time to time. The problem shouldn’t repeat itself often. Another warning sign is if more than one drain/fixture keeps clogging up; there is likely a serious problem deeper in your plumbing lines.

Frequently Clogged Toilets

Toilets that clog frequently are more than just a nuisance; they can be symptomatic of deeper plumbing issues. Common causes include flushing inappropriate materials like wipes or excessive toilet paper, or more serious concerns like sewer line problems.

If your toilet is experiencing frequent clogs, it’s important to avoid using chemical drain cleaners as they can damage pipes. Instead, a plunger or a plumber’s snake can often resolve simple clogs.

However, if the issue persists, it may be time to call a professional plumber to inspect your sewer line and identify any underlying problems.

Kitchen Sink Keeps Clogging

If your kitchen sink continues to clog despite preventive measures, it may indicate a deeper blockage in the plumbing system, requiring professional intervention.

This problem often stems from the disposal of grease, food scraps, and other substances that should not go down the drain. To prevent this issue in the future, avoid pouring grease down the drain and use a sink strainer to catch food particles.

Shower Drain Keeps Clogging

Shower drains are particularly prone to clogging due to the accumulation of hair, soap scum, and other personal care products. This can lead to slow drainage and water pooling in the shower. Regularly cleaning the drain cover and using a hair catcher can help prevent clogs and usually solves the issue.

However, if your shower drain keeps clogging, it could be a sign of a more significant blockage deeper in the drain line. In such cases, professional plumbing services may be needed to clear the obstruction and ensure proper drainage.

Gurgling Drains and Unusual Sounds

Listening to your drains can help you know whether drain repair is needed. Your sink or shower drain, or toilet, should not be gurgling. This is an indication that air is trapped in the drain, and the cause of the issue should be determined by a professional plumbing technician. The source may be a faulty plumbing vent or sink trap.

Gurgling Sound from Sink

A gurgling sound from the sink can be an alarming sign that air is trapped in your plumbing system, often due to a blockage. This noise occurs when water displaces the air trapped in the pipes, indicating that the drain is not functioning properly.

Regular cleaning can help, but if gurgling sounds persist, it’s a signal to seek professional plumbing assistance to clear the blockage and restore proper airflow in the pipes.

Toilet Gurgling

If your toilet makes a gurgling sound, it’s often a warning sign of a venting issue or a blockage in the sewer line. This noise occurs when the toilet is struggling to draw air, which can be due to a clog or improper venting.

Persistent gurgling noises from the toilet should not be ignored as they can indicate serious plumbing issues. A professional plumber can assess and resolve the problem, ensuring the proper functioning of your toilet and preventing potential sewage backups.

Low Water Pressure Problems

Unless someone inadvertently left the main water valve partially closed, low water pressure can be due to drain or pipe degradation, a clog, a faulty pressure regulator, or a leak.

If the pressure regulator is failing, water pressure can go down abruptly. It can also rise to dangerously high levels, increasing the risk of more serious plumbing damage.

If you’re concerned about low water pressure, consider getting a water leak detection from a professional.

Low Water Pressure in the Shower

Experiencing low water pressure in the shower can be frustrating and may be caused by various factors, such as clogged showerheads, faulty plumbing, or issues with the main water supply. Mineral buildup in the showerhead is a common culprit and can often be resolved by cleaning or replacing the showerhead.

However, if low water pressure is a consistent problem not limited to the shower, it could indicate more significant issues within your plumbing system, such as leaks or blockages, which require professional assessment.

Sink Water Pressure is Low

Low water pressure in sinks can significantly impact your daily activities, from washing dishes to basic hygiene. This issue can be due to clogged aerators, which are easy to clean or replace.

If the water pressure in the sink continues to remain low, or if the problem affects multiple fixtures, it could be a sign of larger plumbing concerns like corroded pipes or main supply issues. In such cases, a professional plumber can diagnose the problem and suggest the best course of action to restore optimal water pressure in your home.

Pests in Plumbing

Bugs and rodents can be a problem especially if sewage is backing up into your drains. Various species of insects feed off the nutrients in sewage. In turn, rodents feed off them, so your home becomes part of the food chain. If left unfixed, a drain problem can lead to major infestations that can affect your entire home.

Drain Flies in Bathroom

Finding drain flies in your bathroom can be a sign of a deeper issue within your plumbing system. These small, moth-like flies are attracted to stagnant water and organic material in drains, often indicating a clog or buildup.

Regular cleaning of drains can help prevent their occurrence, but persistent infestations might require more thorough methods, such as professional drain cleaning, to eliminate the breeding ground for these pests.

Cockroaches in Drains

The presence of cockroaches in drains is not only unsettling but also a sign of potential plumbing issues. These pests are drawn to moist environments and can enter your home through cracks or breaks in the plumbing.

Ensuring your drains are clean and free of food particles can help deter cockroaches, but their presence often requires professional pest control and plumbing inspection to identify and seal entry points.

Sewer Flies in House

Sewer flies in the house are an indication of a plumbing problem, specifically in the sewer lines or septic system. These flies breed in the organic material found in sewage and can enter homes through cracks or gaps in plumbing fixtures.

Addressing this issue typically involves both pest control measures and plumbing repairs to fix any damage in the sewer lines and eliminate breeding grounds for these flies.

Schedule Drain Repair with HomeX

Serving Anaheim and Southern California, HomeX is trusted for drain services and plumbing repair and installation. Our company is a BBB Accredited Business and uses state-of-the-art drain cleaning methods. We’re known for our elite customer service and our trained and experienced plumbers can fix your drain problems quickly. If you have slow drains, frequent clogs, gurgling sounds, foul odors, or other signs of drain trouble, give us a call at 714-874-3754 or request service by filling out our online form.
How to Fix Common Winter Plumbing Issues

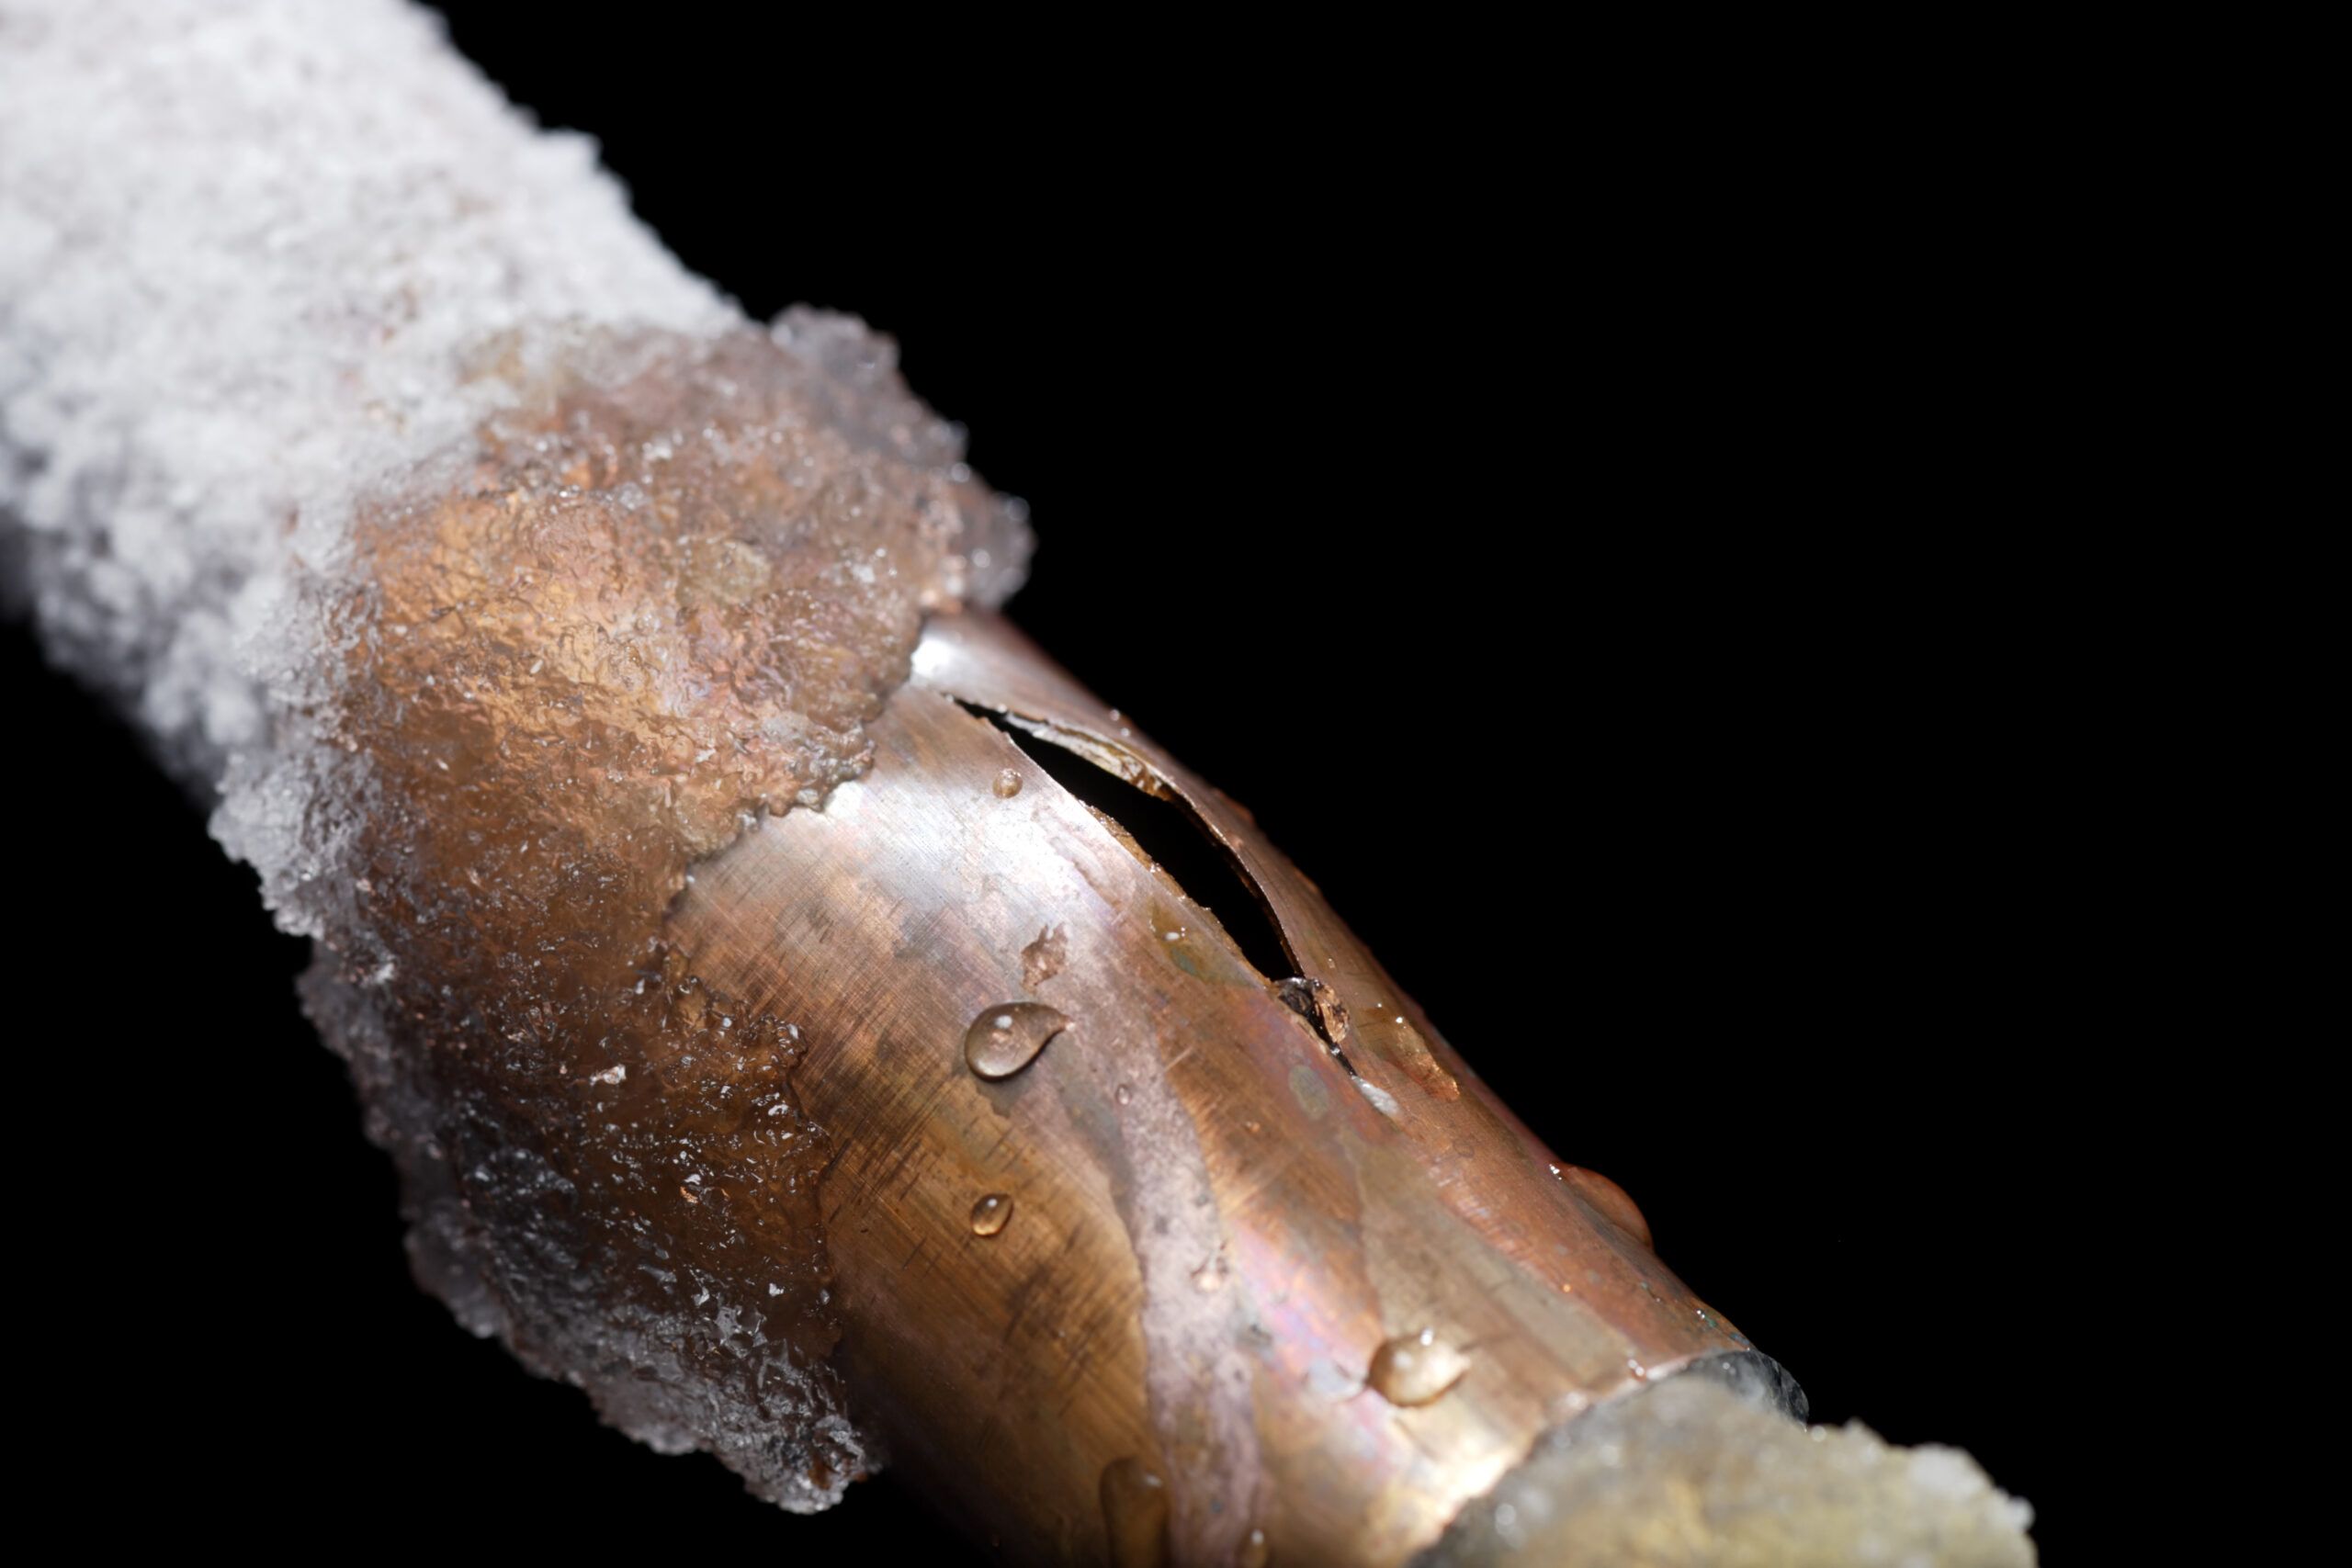
Plumbing issues are common during the winter season. No matter where you live, pipes can freeze and burst when temperatures drop below freezing. Your plumbing fixtures and appliances may also not work as well in extreme cold. Here are some common winter plumbing issues and how to address them.

Fixing Common Winter Plumbing Problems

Frozen Outdoor Pipes

Outdoor pipes are most vulnerable to freezing. Frozen lines, especially less frequently used ones, may go unnoticed, but you can prepare them for winter by:

  • Covering Outdoor Bibbs: After removing the hose and draining the water, cover the bibb with insulated foam; close the valve supplying the outdoor hose as well.
  • Insulate Outdoor Lines: Pipe insulation is easy to find and install and can easily prevent pipes from freezing.
  • Upgrade Hose Spigots: Those that face downward prevent water from pooling up inside and freezing.

If you see a frozen hose bibb:

  • Open the water valve
  • Place towels and rags around the hose bibb base
  • Pour boiling water over the towels
  • Heat the bibb base with a hair dryer or heat gun

Frozen Indoor Plumbing Lines

If a pipe in your home freezes, you may not get water from faucets or showers, and the line can burst, causing a flood. You can prepare by:

  • Allowing faucets to drip on cold days
  • Open cabinets to let warm air circulate around pipes
  • Install pressure relief valves
  • Insulate water lines throughout your home

When a pipe does freeze:

  • Find Where the Problem Is: Turn on faucets to locate the problem area; if none are working, the main line may have failed.
  • Open Impacted Faucets: Opening those for the frozen line relieves pressure; then you can work to unfreeze the line.
  • Apply Direct Heat: Place heat lamps, hair dryers, space heaters, electric blankets, or heating pads near or round the frozen pipe.

Water should start flowing from the faucet; when it does, close the valve. If a pipe has burst, shut the main water valve and contact a plumber.

Clogged Kitchen Drains

Sink drains are more prone to clogging when frequently used, like during the holidays. If you have a kitchen sink clog:

  • Turn off the garbage disposal at the wall switch and main breaker.
  • Check the disposal for obstructions, using tongs or pliers to remove any debris.
  • Move seized gears back and forth with an Allen wrench to determine if there’s an obstruction; follow the previous step if so.
  • Wait 15 minutes to prevent overheating.
  • Press the reset button, restore power, and turn the disposal on.

Faulty Water Heater

A hot shower sure provides relief from winter cold. But the stress and demand on water heaters can cause them to fail. If you’re not getting enough hot water:

  • Check whether the thermostat is set properly.
  • Inspect for power outages, closed gas valves, and other electrical/mechanical issues.
  • If the thermostat’s limit switch has tripped, reset it.
  • Consider replacing a water heater that’s more than 10 years old.

Sump Pump Isn’t Working

If the pump isn’t evacuating water from low-lying spots in your home, it may be frozen; clogs and low temperatures can cause it to back up as well. If it freezes, disconnect the power supply and:

  • Remove ice, snow, or leaves around the discharge line.
  • Melt a frozen discharge line with direct heat from a blow dryer or heat gun.
  • Use a bucket or large cup to empty water from inside the pump.
  • Apply a wet/dry vacuum to remove the rest of the water.
  • Disconnect the drain line and pour hot or boiling water in to melt any clogs.

Basement Floods After Snow Melts

A rapid snow melt can lead to basement flooding. Whether this is caused by an overloaded sump pump, poor drainage, or a foundation crack, the water needs to be removed fast. To resolve the initial problem:

  • Remove as Much Water as You Can: You can prevent major water damage and mold by drying the area with a wet/dry vacuum, submersible pump, or a bucket; dry the air with a dehumidifier or commercial fan.
  • Remove Water Damaged Items: If any furnishings or equipment have been water damaged, remove them and dry immediately. Once the area is fully dry, inspect for water leakage.

Frozen Septic System

While buried underground and insulated, a septic tank or line can freeze if there’s a leak, a full tank, or poor soil coverage. If you suspect a problem:

  • Open the septic tank’s access door.
  • Find a hose with a brass nozzle and backflow preventer.
  • Connect the hose to a water supply.
  • Push the hose into the septic pipe outlet.
  • Turn on the water to melt the blockage
  • Once the system is unfrozen, remove and clean the hose.

*Never apply heat to septic pipes, as sewer gas is highly flammable.

Contact HomeX for Help

If you find yourself with these or other common winter plumbing problems, HomeX can fix them. Our team of plumbing professionals is licensed, bonded, and insured to address issues at their source, fast. For service in Anaheim and Southern California, contact us online or call today!

Ultimate Guide To Shower Replacement

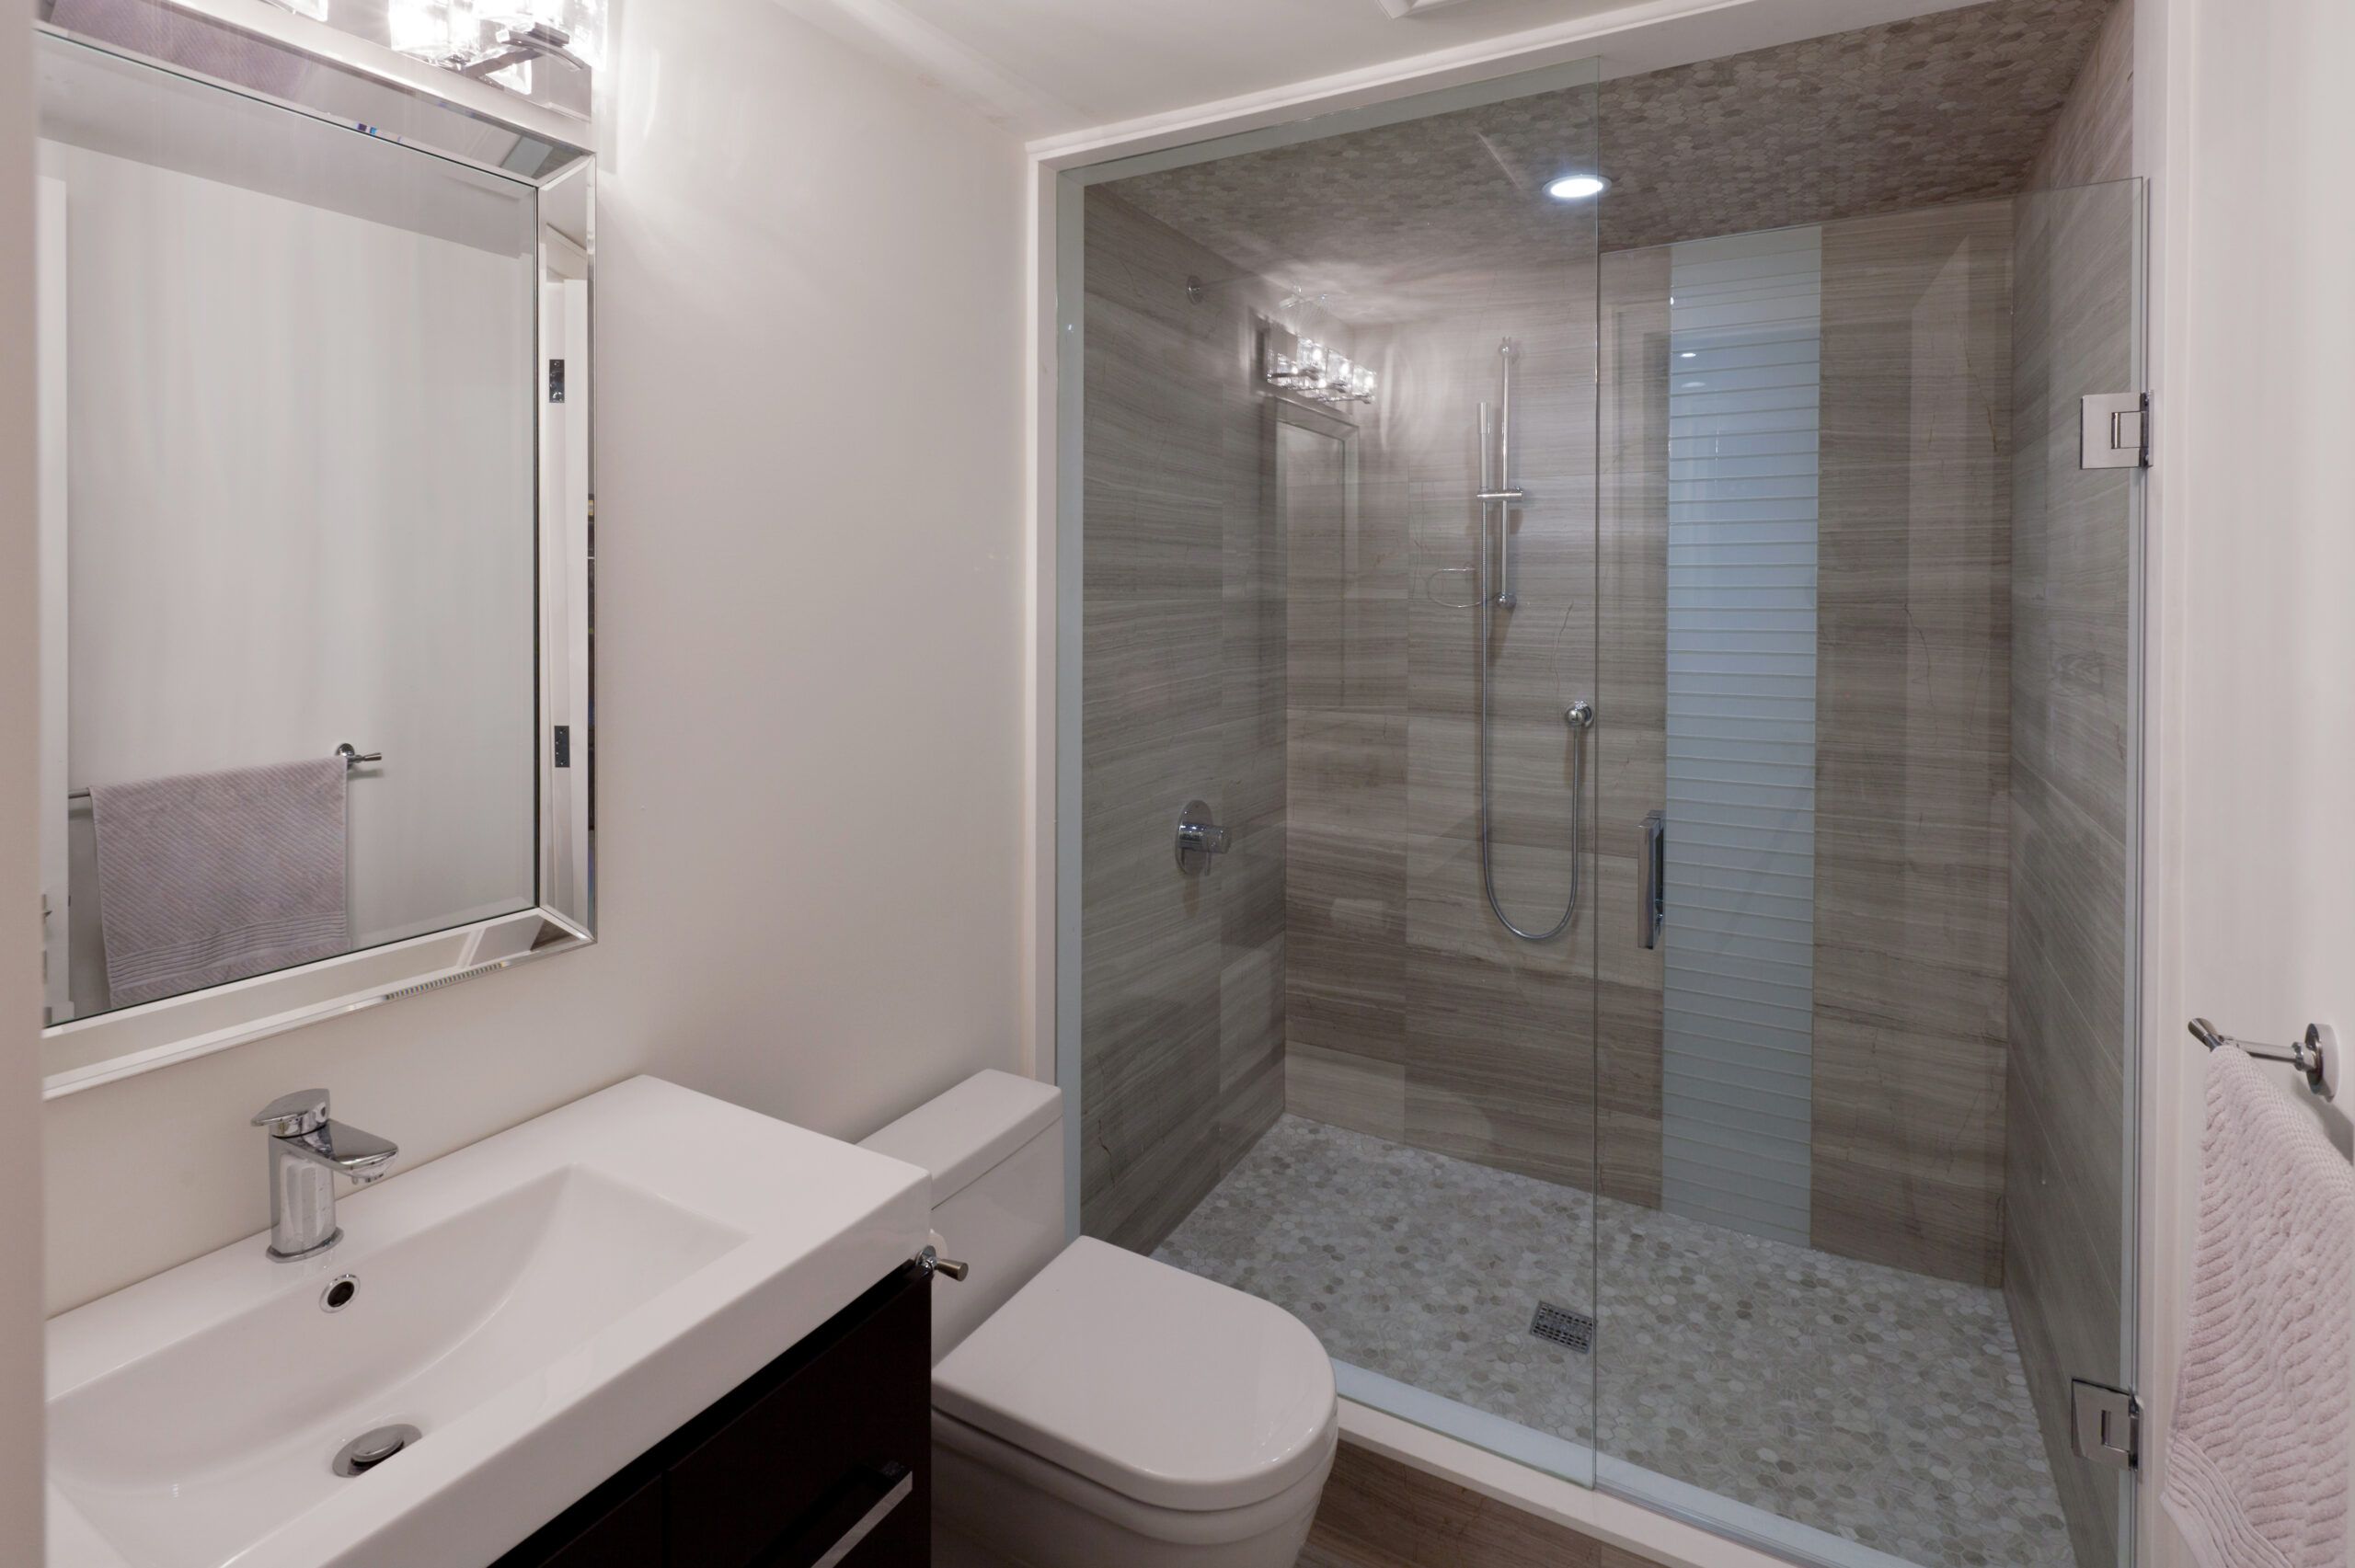
Planning a shower replacement or entire bathroom remodel? You should consider sprucing up what you already have first, and see if replacing your existing shower with one similar will work better for your budget and household. If not, then go all-out to create the perfect, tranquil bathroom space for you and your family. 

Ultimate Guide To Shower Replacement & Bathroom Renovation

The shower and bath are central to your bathroom’s overall feeling. But completely remodeling your entire bathroom may be costly and totally unneeded. Homeowners can still achieve that luxurious look by simply replacing your shower, or even better, replacing shower fixtures and hardware. 

How Much Does it Cost to Replace Your Shower?

While there is no easy answer, the cost of a shower replacement or remodel weighs heavily on the style of shower and desired outcome. Typically priced out at anywhere from $2,000-$9,000, renovating your shower can fluctuate depending on if you have a prefab shower or tiles. Taking out tiles and replacing makes the cost swell, while replacing a prefab shower requires much less work.  

Customization

A custom shower will give you the opportunity to have a relaxing, personalized experience. If you don’t want to spend money on pre-made shower stalls or acrylic tubs, then customize your own. Whether it’s designed for one person or multiple people in your family, the options are limitless! You can tile the walls of your shower with beautiful tiles that match any decor. 

Shower stalls come in different shapes and sizes, so you can change your shower’s footprint without renovating the entire bathroom. For those who want more space than what they have available, or just need to improve upon a smaller bathroom for an apartment building with low ceilings, there are square-shaped showers that will fit nicely into any corner of the tub area while still providing excellent water pressure from every nozzle thanks to their small depth rating. 

A rectangle shaped bath may also be ideal if one has limited wall length, but wants two separate wet areas instead. 

Replacing Shower Fixtures

Single-head Showerheads 

Single head spray showerheads have been in use for decades and they still remain one of the most popular options. The nozzles adjust with a small lever to change from wide patterns, then narrows down into just one powerful, concentrated blast that will help get any soap residue off really quickly!

Rain Showerheads

Rain showerheads offer luxury on another level. Rain showers resemble that of a summer rainstorm. The droplets feel refreshing on your skin and the sound of sprinkling water washes any anxieties right down the drain. While it may take you extra time to shower due to its minimal water pressure, who wants your shower to end when it feels this good?

Dual & Multiple Shower Heads

Dual and multiple showerheads are an excellent way to enjoy your bath time in style. Not only will they make sure that you get the perfect amount of water at all times, but with a dual or multi-head setup, there’s no limit on how many people can use it at once!

Handheld Showerheads

Handheld shower heads provide a simple and easy way to wash those hard-to reach places due to the showerhead being attached to a flexible hose. Hand-held showers are good for people with limited mobility, as well as those who might take their baths sitting down.

Body Sprays

Body sprays have multiple spray heads integrated into the shower wall. Some are compact nozzles, while others nearly flush against the wall for an extra bit of water pressure and tension. With over 45 psi (pounds per square inch) delivered through three quarter inch supply lines, there are almost unlimited possibilities in design combinations when designing a custom body wash experience that’s just right for you. Prices start at $500 and go all the way up to over $5,000. 

It’s an interesting process deciding whether to hire a professional or go it alone when you’re considering a shower renovation. The benefits of hiring a pro are that you can save yourself time, effort and any potential headaches by knowing you are in good hands. 

DIY Shower Remodel vs. Professional Shower Remodel 

If you are aiming to attempt to do-it-yourself and lack experience with this higher tier of handy work, you run the risk of possibly miscalculating some vital measurements which could cost you more in the long run to correct any mistakes. 

Contact HomeX For Help With Plumbing Installation Anaheim

If you are planning to take on a DIY shower replacement project or need a professional, the trusted plumbers and installation technicians at HomeX can advise you on the best way to get the shower of your dreams without breaking the bank.

Everything You Need to Know About Gas Line Installation

Natural gas is a great alternative energy source because it’s clean, cheap and abundant. But there are some things you should be aware of before switching your home and appliances over to gas. Installing a gas line is no easy task and should be done by a professional. If gas piping is installed improperly it could lead to health and fire hazards. 

Everything You Need to Know About Gas Line Installation

According to the Department of Energy and Environmental Protection (PURA), “Natural gas has a flammability range of approximately 5-15%. That means that any mixture containing less than 5% or greater than 15% natural gas to air would not support combustion. Natural gas, when mixed with air and exposed to an ignition source, is combustible.” Hence why installing a gas pipe is not considered a do-it-yourself project. 

Because natural gas is odorless and otherwise undetectable to the human nose, natural gas companies intentionally add mercaptan to their product. Mercaptan, also known as methanethiol, is a foul-smelling odorant that acts as an additional safety measure so that homeowners and business owners can detect a dangerous gas leak should it occur. 

Installing a gas line has little margin for error, even if it is considered a fairly straightforward plumbing and electrical project. Here is everything you need to know about gas line installation and if it is a good fit for your home and needs. 

Supply, Branch, Drop Lines, Risers

The gas supply line is what carries natural gas into your home with branch lines running to individual appliances throughout your home or business. The branch line will end in a drop line where a vertical pipe drops downward to an appliance’s overhead branch line. If the line carries gas up to an appliance it is called a riser. 

Dirt Pocket, Drip Leg, Sediment Trap 

The sediment trap or dirt pocket is a design element that prevents any water or debris from getting into your appliances. It has an extra 3-inch long pipe extension for catching loose sediments. These traps operate and are dependent on gravity that forces any solids or liquids down into the trap. 

Pipe Downstream 

The gas company is responsible for the piping upstream of the gas meter, while the homeowner takes care of everything downstream.

Gas Piping Materials

Copper, galvanized steel, corrugated stainless steel tubing, and brass are all common gas piping materials used in homes. But it’s important to know what is allowed by local utility companies in your area. When you go to install a gas line on your property, your plumber will advise you on what are best practices based on your location. 

Connectors

  • Flex Connectors: The future is here, and it’s flexible! In some regions, flexible connectors are used to connect appliances with gas piping. There has got to be an accessible shut-off valve at the connection point. This allows for more convenience for the homeowner. 
  • Three or Six-Foot-Long Accessible Connectors: These flexible connectors are used for gas ranges and clothes dryers. They cannot go through walls, floors or ceilings, but they can be longer than 3 feet (unless the local code requires otherwise). Some jurisdictions allow flexible couplings in residential settings while others don’t, so make sure you know what’s allowed before purchasing!

Thread Seal Tape

Thread seal tape, often incorrectly called Teflon® Tape is not recommended when connecting steel gas pipes. Oils that are left over on the gas pipe threads from the manufacturer can prevent this type of tape from sealing properly and result in gas leaks. It is advised you check with the gas utility and a licensed plumber to know what is the best thread seal tape you should use on the type of gas piping you have decided to install. 

Contact HomeX for Anaheim Natural Gas Line Installation

If you need a gas line repair or installation performed in Anaheim, CA, you can trust the team from HomeX Plumbing & Rooter. Our company is ready to help with gas line jobs of any size or scope in this Orange County city. We’re committed to excellence and focused on exceeding the expectations of our customers. With our skills, we can handle all of the details of any gas line installation or repair in Anaheim, California. 

How to Flush a Tankless Water Heater

In general, you should flush a tankless water heater once a year (more often if you have hard water or poor water quality. Not only does this clear away calcium and other hard water mineral buildups, it can also increase system efficiency and longevity. To properly flush a tankless water heater we’ve created this guide to get the job done quickly, simply, and safely.

Gather Plumbing Supplies

Here are some of the things you will need to complete flush a tankless water heater:

  • Tools: A screwdriver, adjustable wrench, and needle-nose pliers.
  • Hose: About 6 feet of washing machine hose.
  • Electrical Tester: A non-contact voltage tester.
  • Pump: You’ll need a submersible model.
  • Container: 5-gallon bucket to hold excess water.
  • Vinegar: Virgin, food-grade vinegar or commercial deliming solution (4 gallons).

Preparing to Flush a Tankless Water Heater

  1. If you have a gas tankless water heater, shut off the gas supply. For electric water heaters, disconnect electrical power by turning off the unit and switching off the breaker for the circuit.
  2. Open the access panel and use the non-contact electrical tester to verify there’s no electrical current flowing to the unit.
  3. Next, locate the hot and cold shut-off valves. These should be closed to stop water from flowing into the heater. On the hot water line, there is a pressure relief valve. Open it to release any pressure, being careful to avoid contact with hot water.
  4. Now, you can connect hoses to the cold-water port and hot-water port. The submersible pump should be placed in the five-gallon bucket.
  5. Next, attach the cold-water hose to the pump and place the other end of the hot-water hose inside the bucket. Fill the bucket with the white vinegar that you have set aside.

Flushing Your Tankless Water Heater

  1. To begin flushing, open the hot- and cold-water ports, turn the pump on, and allow the vinegar to circulate for about an hour. Any mineral scale in the copper lines should break down and sediment should be washed out.
  2. Dump the vinegar from the bucket and close the cold-water service port.
  3. Remove the hose and open the cold water shut-off valve to flush any remaining vinegar.
  4. Let it run for about 10 minutes before closing the valve.

Once the water finishes draining:

  1. Remove the second hose and close the hot water port, then remove the cold-water inlet filter and, if your tankless water heater has one, the hot water in-line filter.
  2. Wash sediment out at the sink.
  3. Replace the filters, reinstall the access panel, and restore the gas/electrical supply depending on the unit.

Note: When you need to flush a tankless water heater that’s electric, you’ll also need to remove the heating elements.

Remove Heating Elements

  1. Remove the screws holding the wires to them and loosen the hexagonal brass top of the heating element by turning it counterclockwise.
  2. After inspecting the heating elements for damage, place them in the copper chambers and rinse the chamber with vinegar for 90 minutes to two hours.
  3. After flushing, drain the vinegar and replace the heating elements and wires.
  4. Open the water shut-off valves and turn on a few hot water faucets; run them for about five minutes to rid the system of vinegar and air pockets.
  5. Turn off the taps and close the cold-water valve before removing/cleaning the cold-water inlet filter.
  6. Reinstall the filter, close the access panel, and restore power to the unit.

Contact HomeX Plumbing & Rooter

If you need assistance when you flush a tankless water heater, we can help. We’re also trusted to provide water heater repair in Anaheim and Southern California. To request service, contact us on the web or call 714-515-7588.

5 Quick Steps To Make a Water Leak Repair

Water leak detection and repair is a skill that most homeowners should keep in their back pocket for when leaks occur, and they eventually will happen. Repairing a leaky pipe, a faulty fixture or a running toilet is often times an easy fix, depending on the type of leak and your level of expertise. 

If you’re naturally handy around the house, fixing a leaking pipe may be a great solution to temporarily prevent further damage to the surrounding areas of your home. The operative word being “temporarily.” Leaking pipes, if left unrepaired for long periods of time, can cause extensive damage to floors and ceilings and create mold inside your home’s drywall. 

Step By Step Water Leak Repairs

While we can give you the tools and know-how to effectively execute a water leak repair, it is best to contact a professional plumber and schedule a leak detection and repair appointment to assess whether your pipes need to be replaced. Here are some quick steps you can take to fix a water leak and buy you some time. 

1. Turn Off the Water Supply

First things first. If you have already located the leak, shut off the water supply before attempting to fix the leak. There are shut-off valves under the kitchen and bathroom sinks, as well as on the underside of your toilet. Turn the valve counterclockwise to shut off the water supply. In some instances, you may have to turn off the main water valve which is located on the exterior of your house.

After you have cut off the water supply flowing to the home or a specific location in the home, it is recommended that you run the faucets to empty the pipes before beginning your water leak repair. 

2. Clean Up Any Water & Dry The Pipes

Clean up any water that may have accumulated on any surfaces that surround the leak. Once you’ve soaked up the water, it’s time to dry the pipe/pipes so that the putty can be applied to a dry surface. 

3. Apply Plumbing Putty to Leaky Pipe

Plumbing putty is a powerful repair tool used to patch and repair leaking pipes. Before handling the plumber’s putty, it is recommended that you wear latex gloves to avoid chemical burns on the skin. With gloves in place, begin by ripping off a piece of the epoxy putty from the tube and mix to activate it.

When the plumbing putty turns a light gray, it’s ready to be applied to the location of the leak. Ensuring that you form a .5 inch thick layer of putty, wrap the putty around the leak to completely cover the area. Press firmly around the edges of the putty to create a watertight seal.

Remember that fixing a leak with plumbing epoxy is only a temporary, fix and you’ll need to schedule an appointment with a professional plumber to repair the leak or replace the pipe entirely. 

4. Replace The Leaky Pipe

If you’re looking for a more permanent solution, you’ll need to replace the faulty section of the pipe. This will require a trip to the hardware store to purchase the right size fixtures, couplings and piping.

Coupling is a vital piece of equipment for any plumber. It allows plumbers to fix water leaks without having to cut out an entire section when there’s damage to the pipe. Couplings can be fitted easily between pipes and require little knowledge to properly install. Make sure you get all the proper measurements before making your purchase.

The coupling needs to be the same diameter and the same material as the leaking pipe. If you are unsure, you may want to consider taking pictures of the pipe with your smartphone so that someone from the hardware store can guide you through the buying process. 

5. Using Clamps for Water Leak Repairs

Replacing entire sections of pipes is costly, so for smaller leaks, it may be more affordable to use a pipe clamp to fix water leaks. Pipe clamps are outfitted with rubber gaskets on either end to create a watertight seal around the faulty pipe and stop it from leaking. This is also easily found at any local hardware store and requires little to no prior plumbing knowledge to effectively install them.  

Contact HomeX For Help With Your Anaheim Leak Repair

Here at HomeX Plumbing, we offer the best plumbing, rooter services, and leak repair in Buena Park and surrounding areas. Our plumbing experts will thoroughly inspect your home from top to bottom to make sure we find any leaks that may lead to structural damage or mold. For whole home repiping and pipe repair in Anaheim and throughout Southern California, contact us online or call 714-597-6551 today!

Book Online

"*" indicates required fields

This field is for validation purposes and should be left unchanged.

By clicking “Send Message”, I am providing express written consent to receive autodialed and pre-recorded calls, texts, and SMS/MMS with marketing communications from Kahuna Comfort regarding home services at the phone number provided above, even if the number is on a corporate, state, or national Do Not Call list. Consent is not a condition to purchase services or products.

Â