🎉 Exciting News: Home X is now Kahuna Comfort Plumbing, Heating & Air! 🎉

Tag: tips

How to Install a Bathroom Sink

Upgrading your bathroom with a new sink can be a rewarding DIY project. With the right tools and a bit of know-how, you can install a stylish sink to enhance both form and function. Here’s a step-by-step guide to help you through the process.
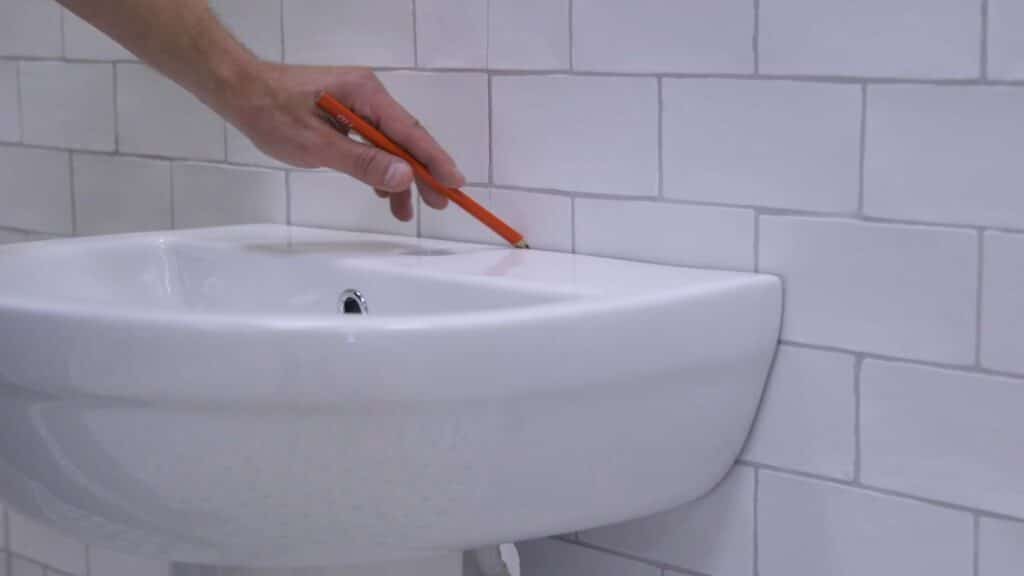
10-Step Guide to Installing a Bathroom Sink.

1. Gather Your Tools and Materials:

Before diving in, ensure you have all the necessary tools and materials. This typically includes a new sink, faucet, plumber’s putty, a wrench, a screwdriver, a bucket, and a pipe cutter.

2. Turn Off the Water:

Begin by turning off the water supply to the bathroom. Locate the shut-off valves beneath the sink or, if unavailable, turn off the main water supply for the entire house.

3. Remove the Old Sink:

Disconnect the plumbing beneath the old sink and remove any brackets or adhesive securing it to the countertop. Carefully lift the old sink out, taking care not to damage the surrounding surfaces.

4. Install the Faucet:

Place the faucet through the designated hole in the sink. Secure it from underneath using the provided nuts. Apply plumber’s putty around the base of the faucet to create a watertight seal.

5. Attach the Drain:

Connect the drain to the sink, ensuring a proper seal with plumber’s putty or a rubber gasket. Tighten the nut beneath the sink to secure the drain in place.

6. Position the New Sink:

Set the new sink into place, aligning it with the existing hole in the countertop. Double-check that it sits evenly and securely.

7. Connect the Water Supply:

Reconnect the water supply lines to the faucet, ensuring tight connections. Turn the water supply back on and check for any leaks.

8. Seal the Edges:

Apply a bead of silicone caulk around the edges of the sink where it meets the countertop. This creates a waterproof seal and enhances the sink’s stability.

9. Test for Leaks:

Turn on the faucet and check for any leaks around the connections. Tighten as needed to ensure a watertight seal.

10. Enjoy Your New Sink:

With everything securely in place and leak-free, your new bathroom sink is ready for use. Enjoy the upgraded aesthetics and functionality of your freshly installed fixture.

Now you know how to install a sink in your bathroom. However, if you ever experience problems, remember that you can always trust Kahuna Comfort Plumbing, Heating, & Air. Call us now!

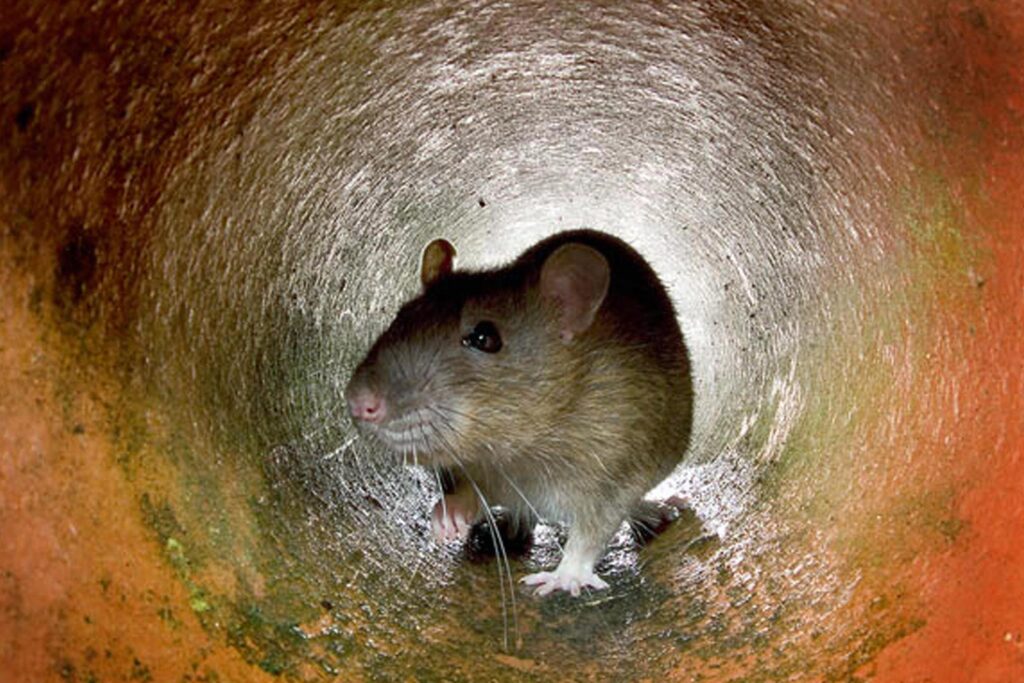
Rats and Drains: Separating Fact from Fiction.

The idea of rats entering homes through drains has a touch of horror fiction, but the reality is rooted in the unique abilities of these rodents. While rare, it’s crucial to take preventive measures, such as sealing entry points, maintaining drains, and consulting professionals, to keep your home rat-free.

The notion of rats invading homes through drains has a certain horror-movie allure, but is it more than an urban legend? The truth lies in the peculiar abilities of these rodents and the vulnerabilities of our plumbing systems.

Can Rats Really Enter Through Drains?

While rats aren’t mystical creatures with supernatural powers, their anatomy allows them to navigate surprisingly tight spaces. Rats can swim and hold their breath for extended periods, and their skeletal structure is flexible enough to squeeze through openings as small as a quarter.

However, the idea of rats emerging from your toilet like a scene from a horror film is rare. It’s more likely they’d enter through damaged pipes or openings in the sewer line.

Preventing Rats’ Entry Through Drains:

Inspect and Seal Entry Points:

Regularly inspect your home for any openings that rats could exploit. Seal gaps or cracks in your foundation, walls, and around pipes. Remember, rats are excellent climbers, so consider both ground-level and upper-entry points.

Secure Vent Openings:

Vent openings on your roof or exterior walls may seem like inviting rat doorways. Cover them with mesh or grates designed to allow air circulation while keeping unwanted visitors out.

Maintain a Tidy Yard:

Rats are attracted to food sources, so keep your yard tidy. Secure garbage bins, clean up fallen fruits, and eliminate standing water, which can be a water source for these rodents.

Regular Drain Maintenance:

Ensure your drains are in good condition. Repair any cracks or leaks promptly, as these can be potential entry points for rats. Regular drain cleaning can also prevent blockages that might attract them.

Professional Inspection:

If you suspect a rat infestation, consult with a pest control professional. They can conduct a thorough inspection, identify vulnerabilities, and provide effective solutions to prevent or address the issue.

Conclusion:

While the scenario of rats emerging from drains is more Hollywood than reality, the possibility of rats entering your home through damaged pipes is plausible. Taking proactive measures to secure your home, maintain your plumbing, and address any issues promptly can significantly reduce the likelihood of unwelcome rodent guests.

However, if you require professional assistance to maintain or repair your drains, preventing rodent issues, rest assured that Kahuna Comfort Plumbing, Heating, & Air is here to provide you with quick, top-notch plumbing services. Give us a call or book your appointment now by clicking the button below.


The Dos and Definitely-Don’ts of Unclogging Drains and Toilets

Dealing with a clogged drain or toilet can be as unpleasant as finding a surprise guest in your bathtub. While the temptation to channel your inner DIY-plumber is strong, some actions should come with a hazard sign and a “Don’t even think about it!” Here are the definitely-don’ts:

The Chemical Cocktail:
Mixing random chemical drain cleaners is like creating a science experiment gone wrong. It might not end in a volcanic eruption, but the toxic fumes and potential reactions could make your plumbing system wish it had a hazmat suit.

Superhero Cape Down the Toilet:
Flushing things like paper towels, diapers, or your cousin’s ill-fated superhero cape down the toilet won’t make them magically disappear. In fact, it might just create a plumbing villain with a vengeance.

Tree Roots vs. Garden Hose:
Trying to blast away tree roots with a garden hose is like bringing a water pistol to a root wrestling match. Roots need professional attention; your garden hose just needs to stick to watering plants.

Coat Hanger Circus Act:
Fashioning a coat hanger into a makeshift plumbing tool might seem resourceful, but your pipes will likely disagree. That clinking and clanking could be the overture to a disastrous drain symphony.

The Overly Ambitious Plunger:
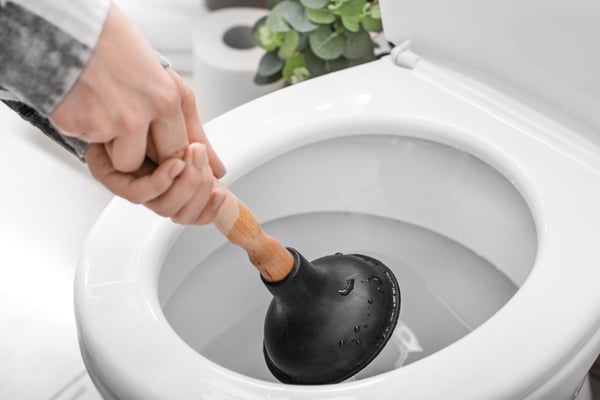
A plunger is a trusty sidekick, but an overly ambitious plunging session can turn your bathroom into a splash zone. Plunge wisely, and remember, it’s about pressure, not Olympic diving.

The MacGyver Garbage Disposal Fix:
Attempting to MacGyver your garbage disposal with makeshift tools is a recipe for a sitcom-worthy disaster. Spare yourself the sitcom laughter; let a professional handle it.

The DIY “Drain Snake” Dance:
Macarena? Electric Slide? No, it’s the DIY drain snake dance. A real drain snake is a pro’s tool, not a dance partner. Leave the waltzing to the experts.

Should You Dump Cooking Oil in the Drain? The Dos and Don’ts

After a delicious meal, the question of what to do with leftover cooking oil often arises. For many, the most convenient option is to pour it down the drain. However, this common practice can lead to costly plumbing issues and environmental concerns. Here, we’ll explore the dos and don’ts of disposing of cooking oil to help you make an informed decision.

The Don’ts: Why You Shouldn’t Dump Cooking Oil in the Drain

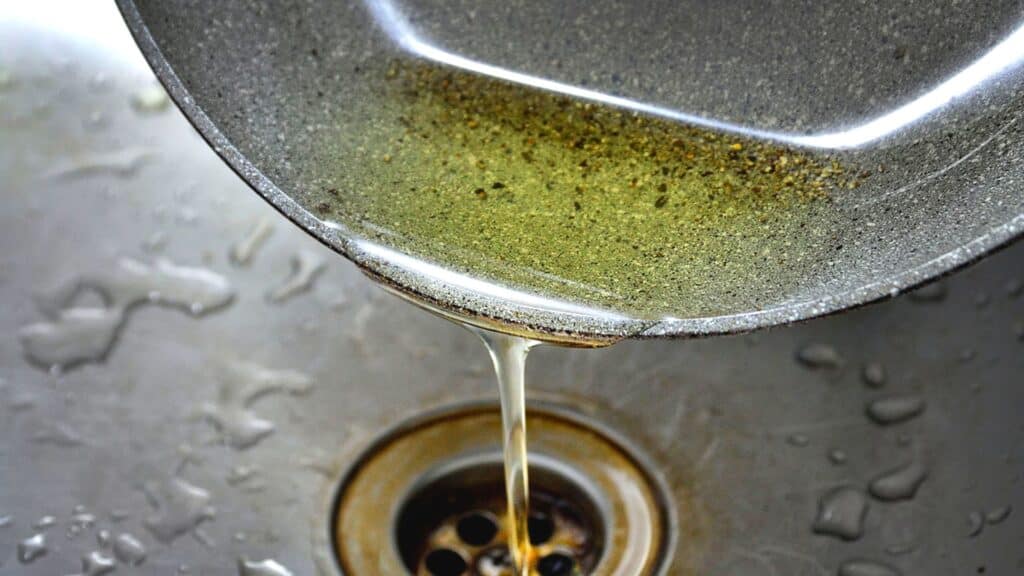
  1. Pipe Clogs: Pouring hot cooking oil down the drain may seem harmless, but as it cools and solidifies, it can stick to the walls of your pipes, accumulating over time and leading to clogs. These clogs can impede water flow and result in slow drainage or even backups.
  2. Environmental Impact: When oil enters the sewage system, it can pose environmental risks. Sewage treatment plants are not designed to handle large amounts of grease and oil. This can lead to contamination of waterways, harm aquatic life, and increase treatment costs.
  3. Odor and Bacteria: Oil and grease can create foul odors in your plumbing system. Additionally, they provide a breeding ground for harmful bacteria, which can exacerbate the problem and affect your household’s health.
  4. Costly Repairs: Over time, oil buildup in pipes can cause severe damage, leading to expensive plumbing repairs. Fixing clogs or replacing sections of your plumbing system can be a significant financial burden.

The Dos: How to Properly Dispose of Cooking Oil

  1. Cool and Contain: Allow the used cooking oil to cool completely. Then, transfer it into a sealable, non-recyclable container. Use a jar or an old coffee can, and make sure the container is tightly sealed.
  2. Recycle or Dispose: Check your local recycling programs for options to recycle cooking oil. Some areas offer recycling centers where you can drop off used oil for proper disposal. Alternatively, contact your local waste disposal services to inquire about their guidelines.
  3. Reuse or Dispose of Solids: If you have used cooking oil with solids, such as bits of food, strain it through a fine mesh sieve before storing or disposing of it.
  4. Grease Disposal Services: Some regions provide dedicated grease disposal services. Contact your local sanitation department to learn if such services are available in your area.

In conclusion, dumping cooking oil down the drain is a practice that should be avoided due to its adverse effects on plumbing systems and the environment. Proper disposal, such as recycling, can help mitigate these issues while ensuring a more sustainable approach to managing used cooking oil. By following the dos and don’ts of cooking oil disposal, you can maintain the functionality of your plumbing and minimize your environmental footprint.

At Kahuna Comfort, we provide exceptional drain cleaning services. If you’ve encountered any issues with your drain, don’t hesitate to give us a call. Our services cover the areas near Los Angeles, Fullerton, Irvine, and Anaheim.


Follow us on Instagram: @kahuna_comfort

Follow us on X: @PlumbingHomex

Tips for First-Time Homeowners to Maintain a New Sewer System.

As a first-time homeowner, it’s essential to understand that your sewer system plays a vital role in maintaining your home’s overall functionality and hygiene. To ensure your new sewer system remains in optimal condition, here are some valuable tips to keep in mind:

new house owners how to care of a new sewer system

How to Maintain a New Sewer System.

1. Regular Inspections:

Schedule regular sewer inspections, especially during the first few years of homeownership. Inspections can help identify potential issues before they escalate, saving you money and preventing inconvenient emergencies.

2. Mindful Landscaping:

Be cautious when planting trees or installing structures in your yard. Tree roots can infiltrate sewer lines, causing blockages and damage. Consult with a professional landscaper to plan around your sewer system effectively.

3. Watch What You Flush:

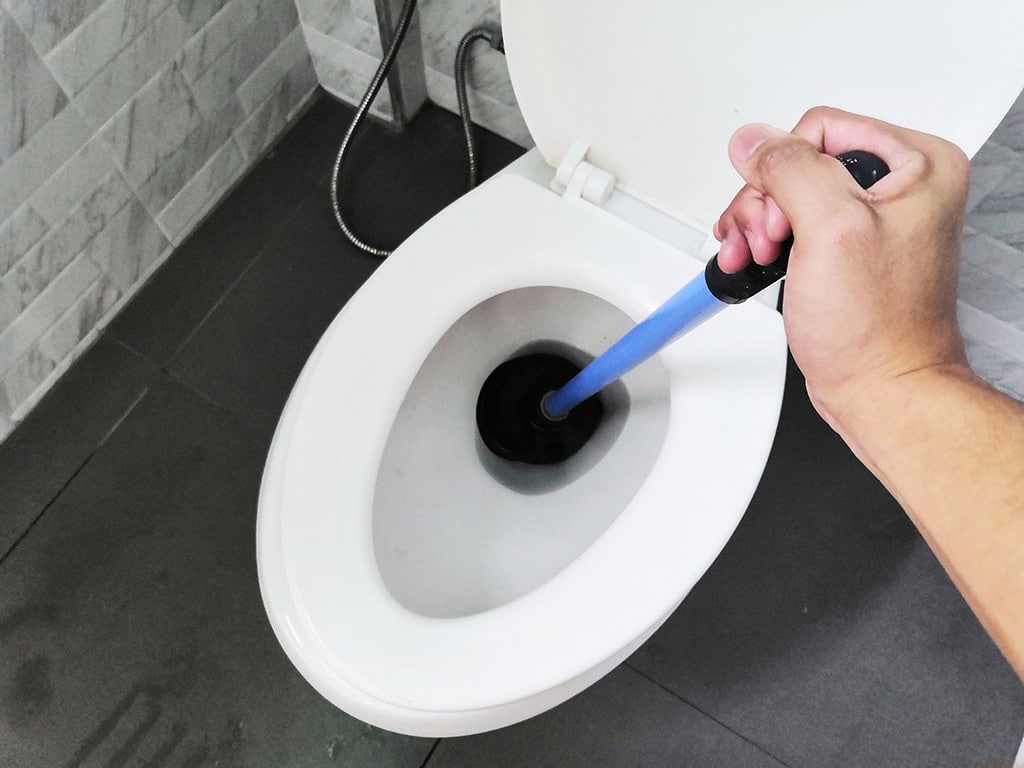
Educate your household about what can and cannot be flushed down the toilet. Only toilet paper and human waste should go down the drain. Items like flushable wipes, feminine hygiene products, and paper towels can cause blockages.

somebody unclogging toilet. Never flush things.

4. Grease Disposal:

Never pour cooking grease down the drain. Grease can solidify in pipes, leading to clogs and slow drainage. Dispose of grease in a separate container and throw it away with your household waste.

5. Maintain Proper Slope:

Ensure that your sewer lines maintain the proper slope for efficient drainage. Incorrect slopes can lead to water pooling, blockages, and costly repairs. Consult a professional if you suspect a slope issue.

6. Be Cautious with Chemicals:

Avoid using harsh chemicals to clear clogs. They can damage your pipes and harm the environment. Opt for environmentally-friendly alternatives or consult a professional plumber to address stubborn clogs.

7. Protect Against Freezing:

If you live in a region with cold winters, take precautions to prevent your sewer lines from freezing. Insulate exposed pipes and disconnect outdoor hoses to avoid burst pipes.

8. Educate Yourself:

Learn about your sewer system and its components. Understand where your main sewer line is located and the location of clean-out access points. This knowledge can be valuable when discussing issues with a professional plumber.

9. Invest in Preventive Maintenance:

Consider hiring a professional plumber for preventive maintenance. Regular check-ups can identify and address potential problems before they become major issues. It’s a worthwhile investment for long-term sewer system health.

10. Respond Promptly to Issues:

If you notice signs of sewer problems, such as slow drains, foul odors, or gurgling sounds in your plumbing, don’t delay. Address these issues promptly to prevent them from worsening.

Now that you know how to maintain your new sewer system for optimal condition, remember, if you ever encounter any issues, you can rely on the exceptional plumbers at Kahuna Comfort. We provide top-notch services across the entire Los Angeles area, from Thousand Oaks to Riverside.

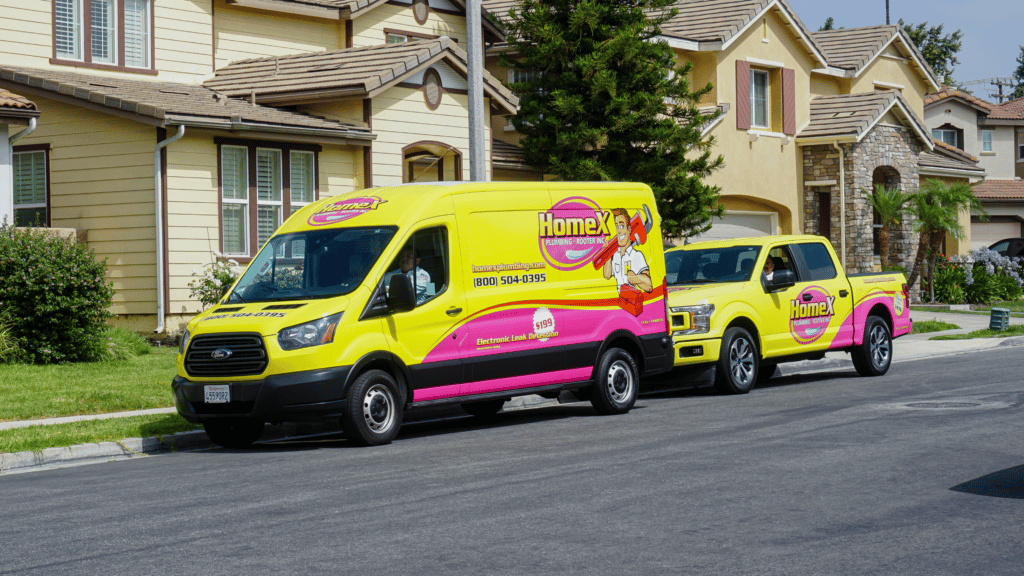
Kahuna Comfort Plumbing, Heating, & Air van and truck
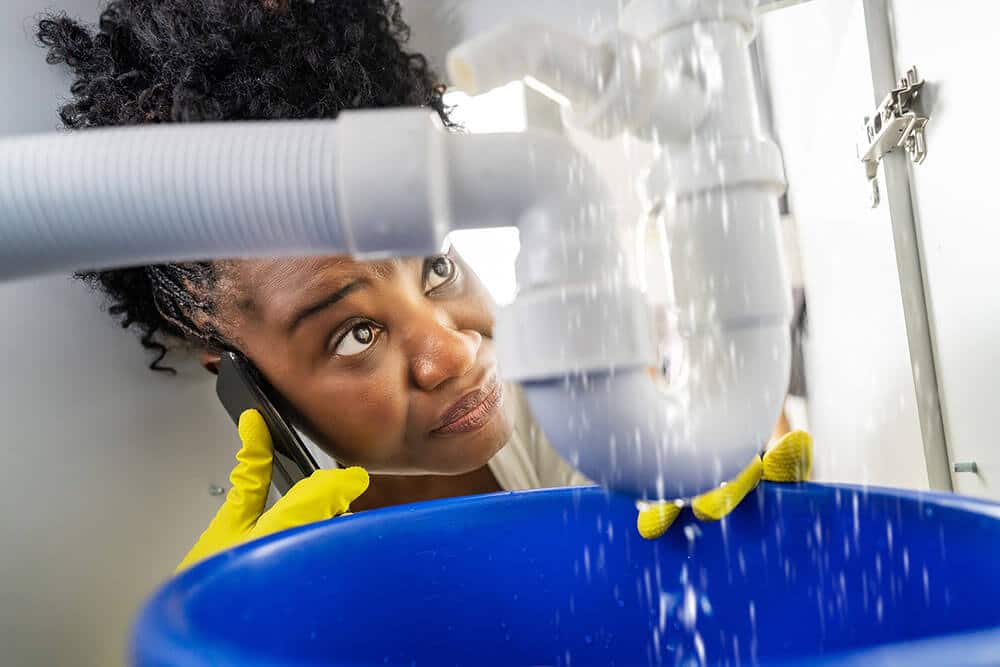
Stressed out customer on the phone with a plumbing service as they watch their drain leak

The Risks of DIY Plumbing

When faced with plumbing issues at home, many homeowners consider tackling the problem themselves to save money. While DIY can be a rewarding endeavor, plumbing is one area where it’s crucial to weigh the risks carefully.

Some significant risks are associated with performing plumbing work yourself instead of calling in a professional expert.

risks of diy plumbing
  • Inadequate Knowledge:
    Plumbing is a complex field that requires a deep understanding of pipe systems, fixtures, codes, and regulations. Attempting DIY plumbing without proper knowledge can lead to mistakes that may worsen the problem or even create new issues.
  • Safety Hazards:
    Plumbing involves working with water, pipes, and sometimes electrical components. Incorrect handling can result in accidents, such as slips, burns, electrical shocks, or flooding. Professionals are trained to prioritize safety.
  • Potential for Property Damage:
    A simple mistake, such as overtightening a pipe or using the wrong materials, can cause extensive property damage. Water damage, in particular, can lead to costly repairs and mold issues.
  • Legal Issues:
    Improper plumbing work may violate local building codes and regulations. If your DIY project doesn’t meet these standards, you could face legal consequences or difficulties when selling your home.
  • Increased Costs:
    Contrary to the initial intent of saving money, DIY plumbing can often end up costing more in the long run. If your work leads to problems that require professional intervention, you’ll incur both repair costs and the original expense.
  • Unresolved Issues:
    Inexperienced plumbers might address the visible symptoms of a problem without identifying the root cause. This can lead to recurring issues that worsen over time.
  • Limited Tools and Resources:
    Professionals have access to specialized tools and resources that homeowners typically lack. These tools are essential for accurate diagnosis and efficient repairs.
  • Time and Frustration:
    DIY plumbing projects can be time-consuming and frustrating, especially if you encounter unexpected challenges. Hiring a professional can save you time and stress.
  • Warranty Issues:
    Many plumbing fixtures come with warranties that can become void if they are not installed or serviced by licensed professionals. DIY work may jeopardize your warranty coverage.
  • Lack of Insurance:
    Professional plumbers typically carry liability insurance, which provides protection in case of accidents or damages. DIYers do not have this safety net.

While DIY projects can be rewarding and cost-effective in some areas of home improvement, plumbing is not one of them. The risks associated with DIY plumbing work are substantial and can lead to more significant expenses, safety hazards, and legal complications. For the sake of your home and your peace of mind, it’s often best to leave plumbing to the experts who have the knowledge, experience, and tools to get the job done safely and effectively.

Must-Have Plumbing Tools Every Homeowner Must Own for Ultimate Home Maintenance!

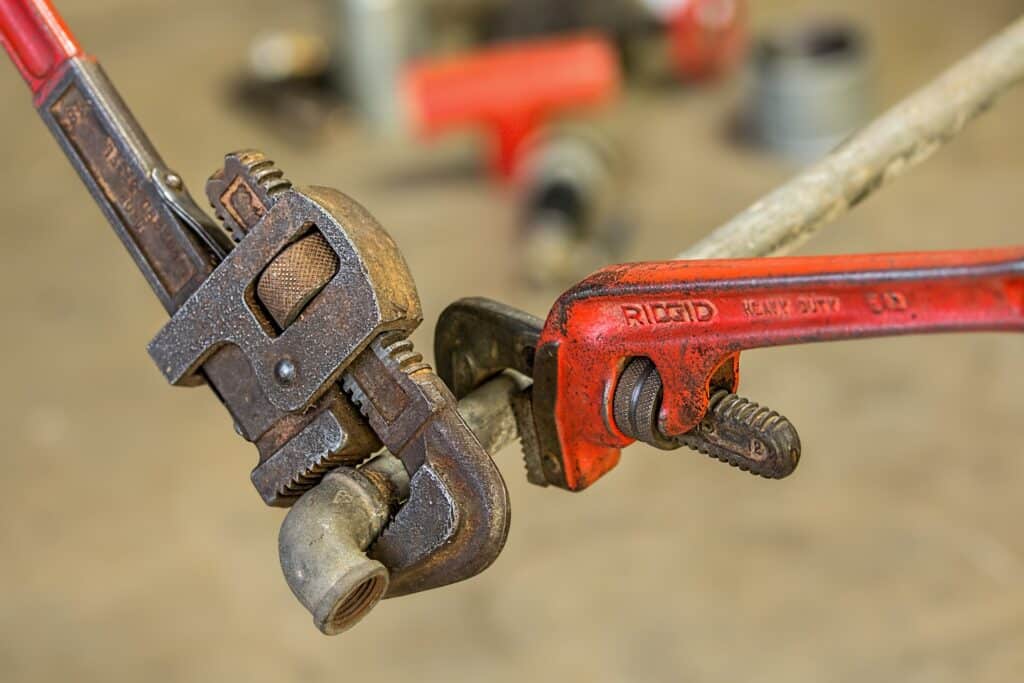
Imagen de <a href=Steve Buissinne en Pixabay” class=”wp-image-1437″/>

Every homeowner should have a basic set of plumbing tools for tackling common DIY plumbing tasks. These tools, including pipe wrenches, plungers, pipe tape, and more, can help you address minor plumbing issues effectively. While major plumbing problems require professional assistance, having these essentials can save you time and money when smaller issues arise. That’s why we want to show you these essential plumbing tools every homeowner should have.

Being prepared for minor plumbing issues in your home can save you time and money in the long run. While complex plumbing problems should be left to professionals, having a set of essential plumbing tools can help you handle common DIY plumbing tasks effectively.

Essential Plumbing Tools Every Homeowner Should Have.

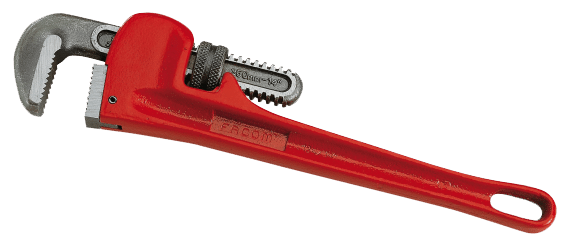
1. Pipe Wrench.

A pipe wrench is a vital tool for tightening and loosening threaded pipes and fittings. It comes in various sizes to accommodate different pipe diameters.

2. Adjustable Wrench.

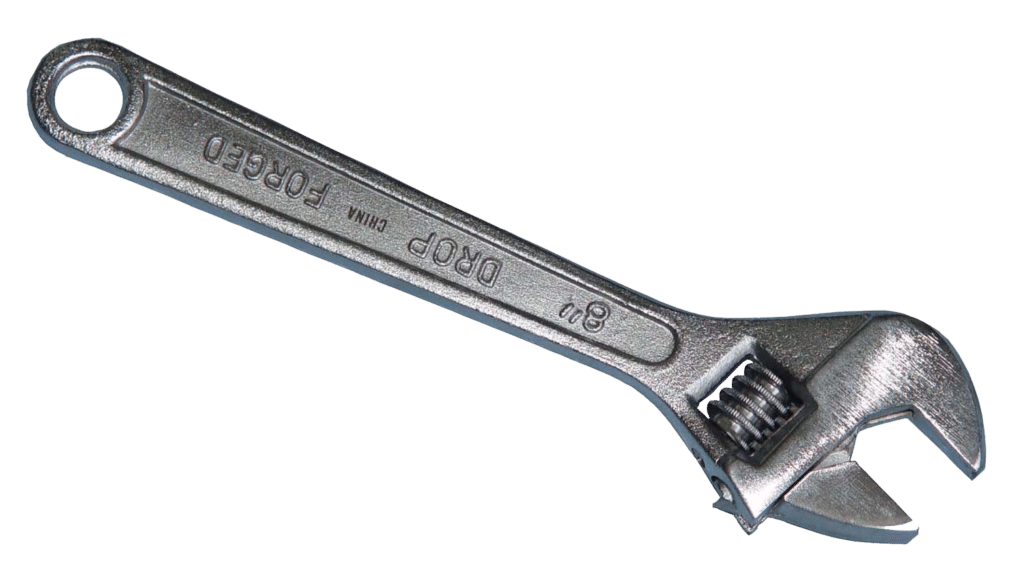
An adjustable wrench, also known as a crescent wrench, is versatile and useful for tasks such as tightening nuts and bolts on faucets and other fixtures.

3. Plunger.

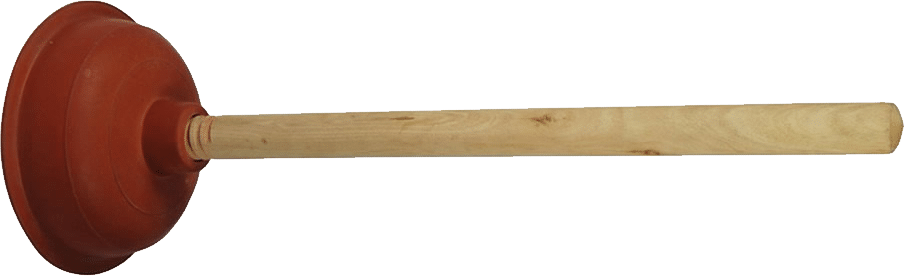
A plunger is essential for clearing clogs in sinks, toilets, and tubs. Make sure you have both a cup plunger (for sinks and tubs) and a flange plunger (for toilets) for more effective results.

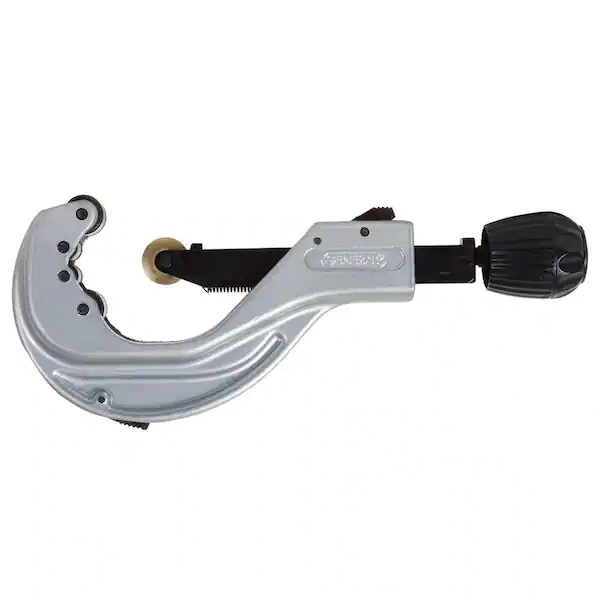
4. Pipe Cutter.

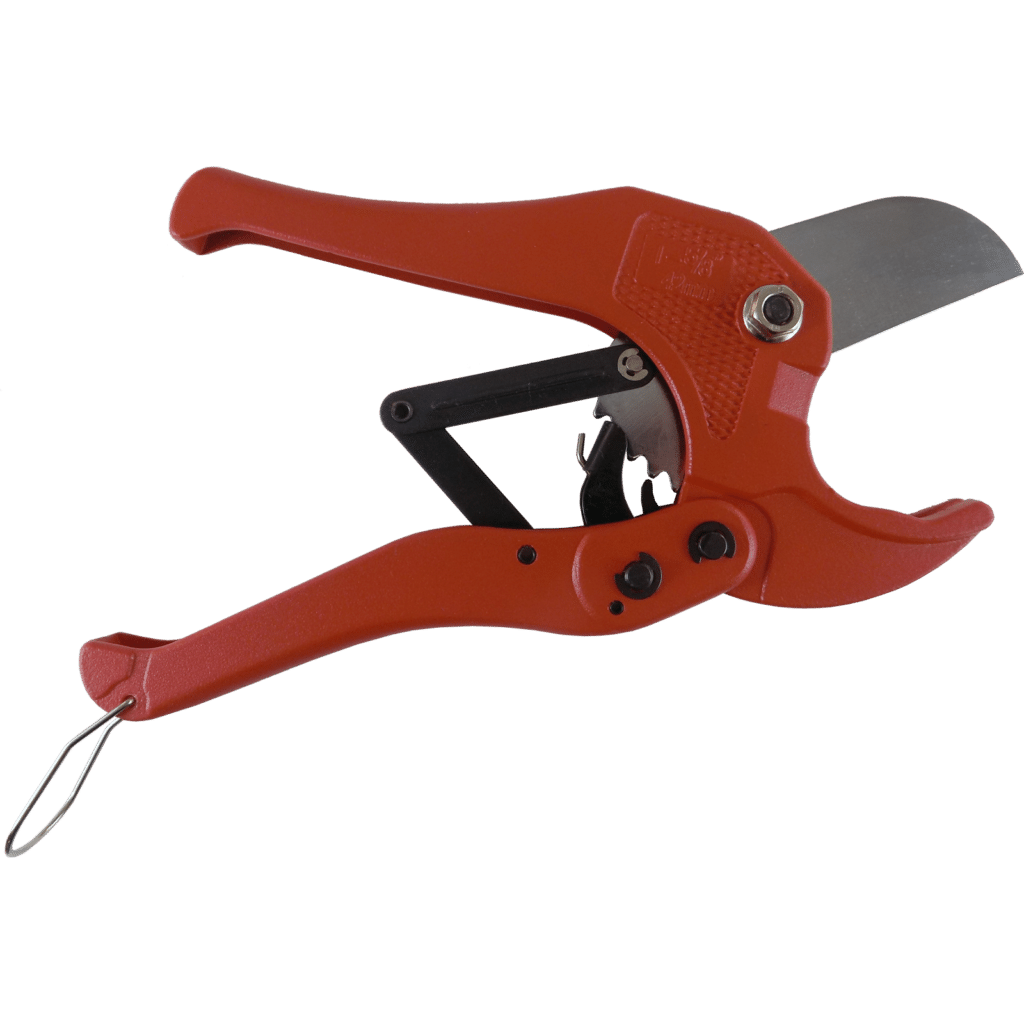
For cutting through copper, PVC, or other types of piping, a pipe cutter is essential. It ensures clean, precise cuts without the need for hacksaws.

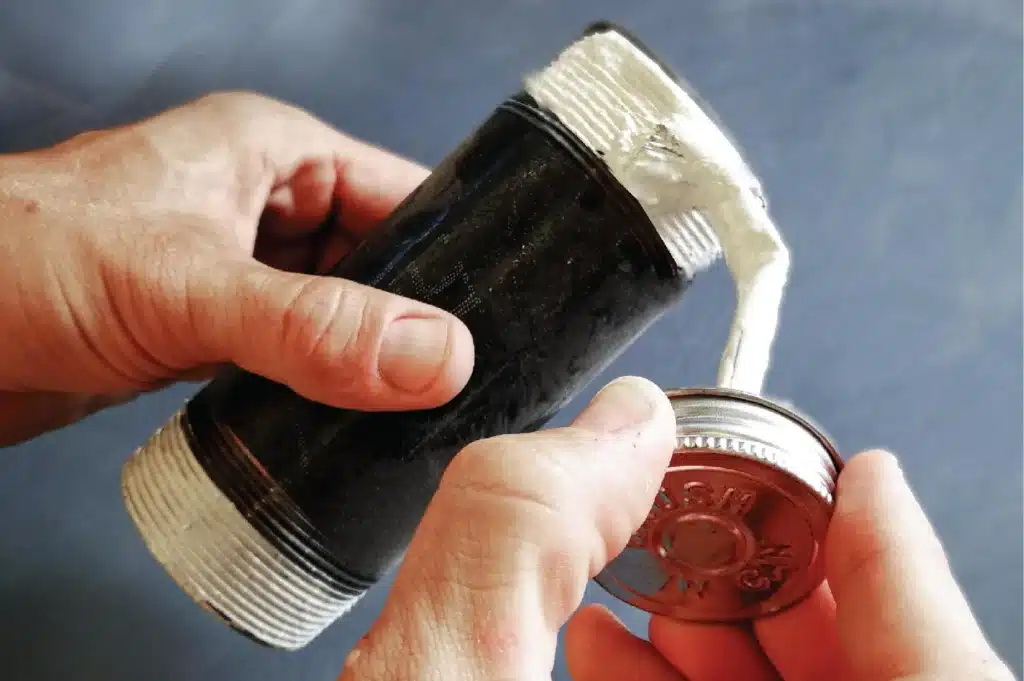
5. Pipe Tape.

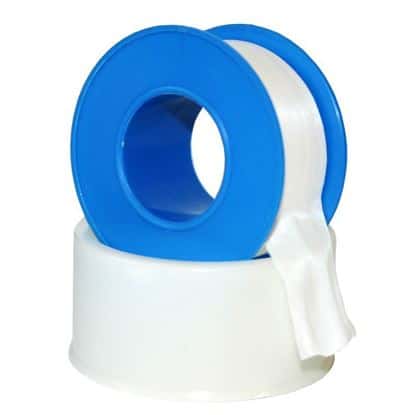
Also known as thread seal tape or Teflon tape, this thin white tape is used to create a watertight seal on threaded pipe connections. It’s crucial for preventing leaks.

6. Plumber’s Tape Measure.

A tape measure designed for plumbing applications typically includes measurements for pipe diameter, which is handy for selecting the right fittings.

7. Pipe and Tubing Cutter.

If you need to cut through larger pipes or tubing, a pipe and tubing cutter will make the job easier and more precise.

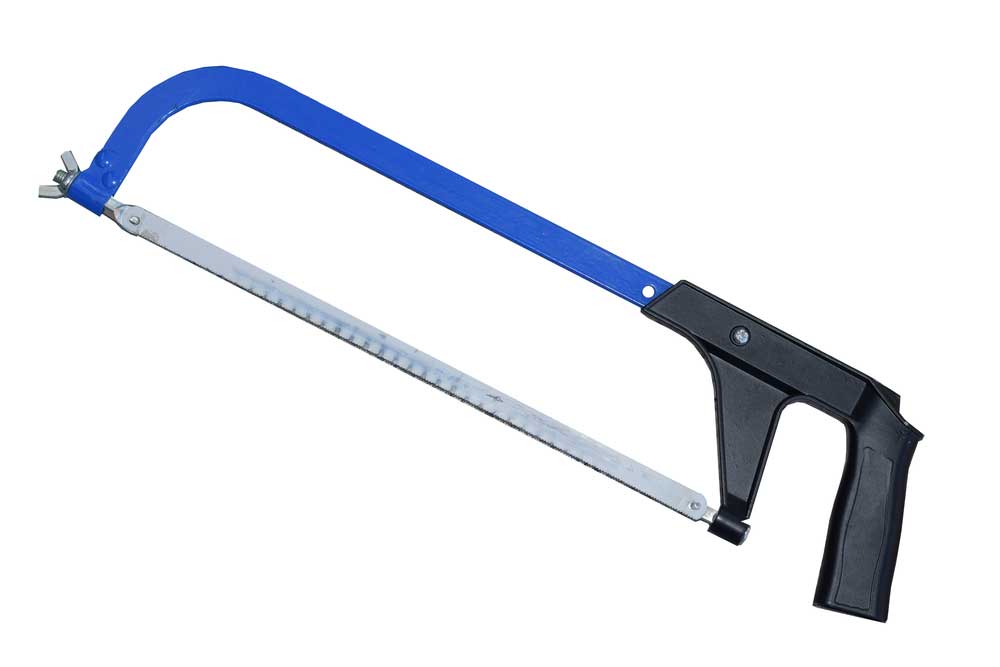
8. Hacksaw.

A hacksaw is useful for cutting through various materials, including pipes and plastic tubing. It’s handy when a pipe cutter isn’t suitable.

13 Must-have plumbing tools for house owners

9. Teflon Pipe Dope.

This sealant is used in addition to pipe tape to create a secure, leak-free connection between threaded fittings.

13 Must-have plumbing tools for house owners

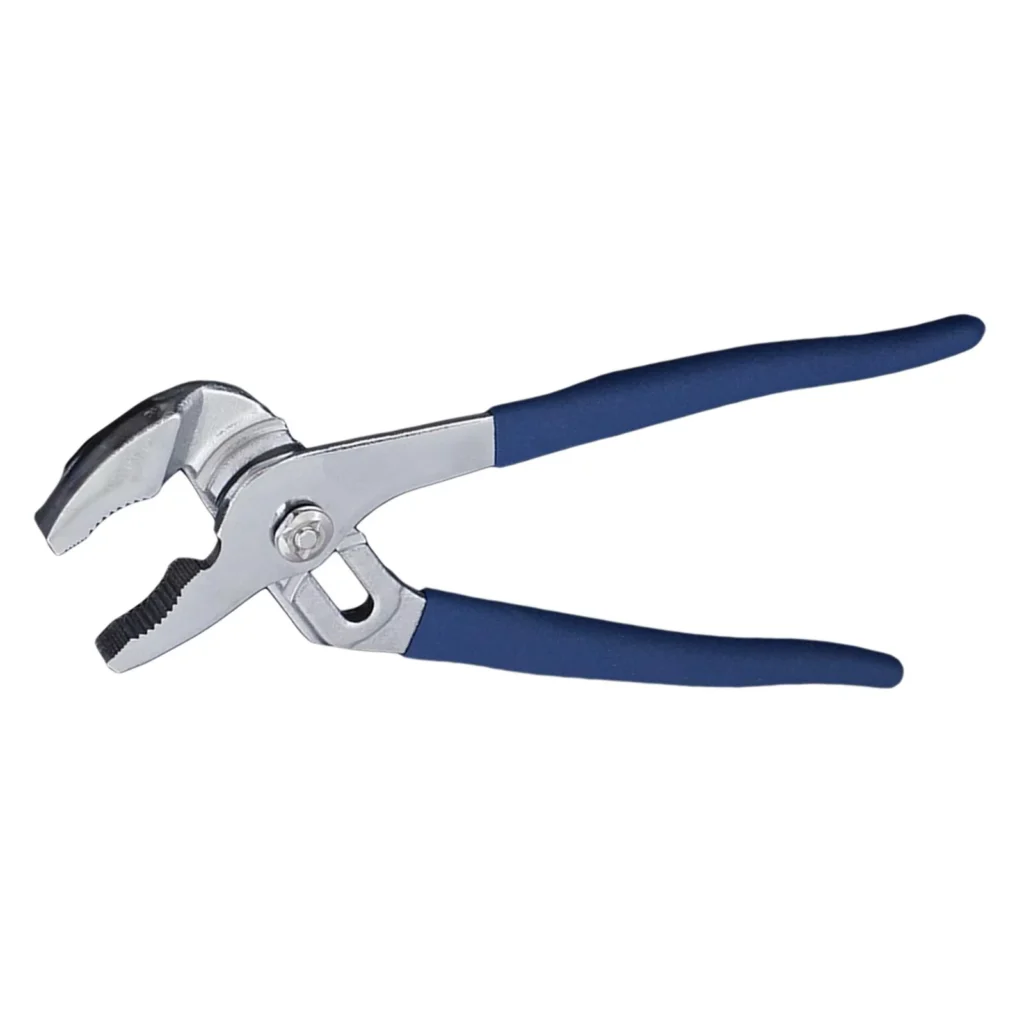
10. Adjustable Pliers.

Adjustable pliers, such as tongue-and-groove or channel-lock pliers, are versatile tools for gripping and turning pipes and fittings.

13 Must-have plumbing tools for house owners

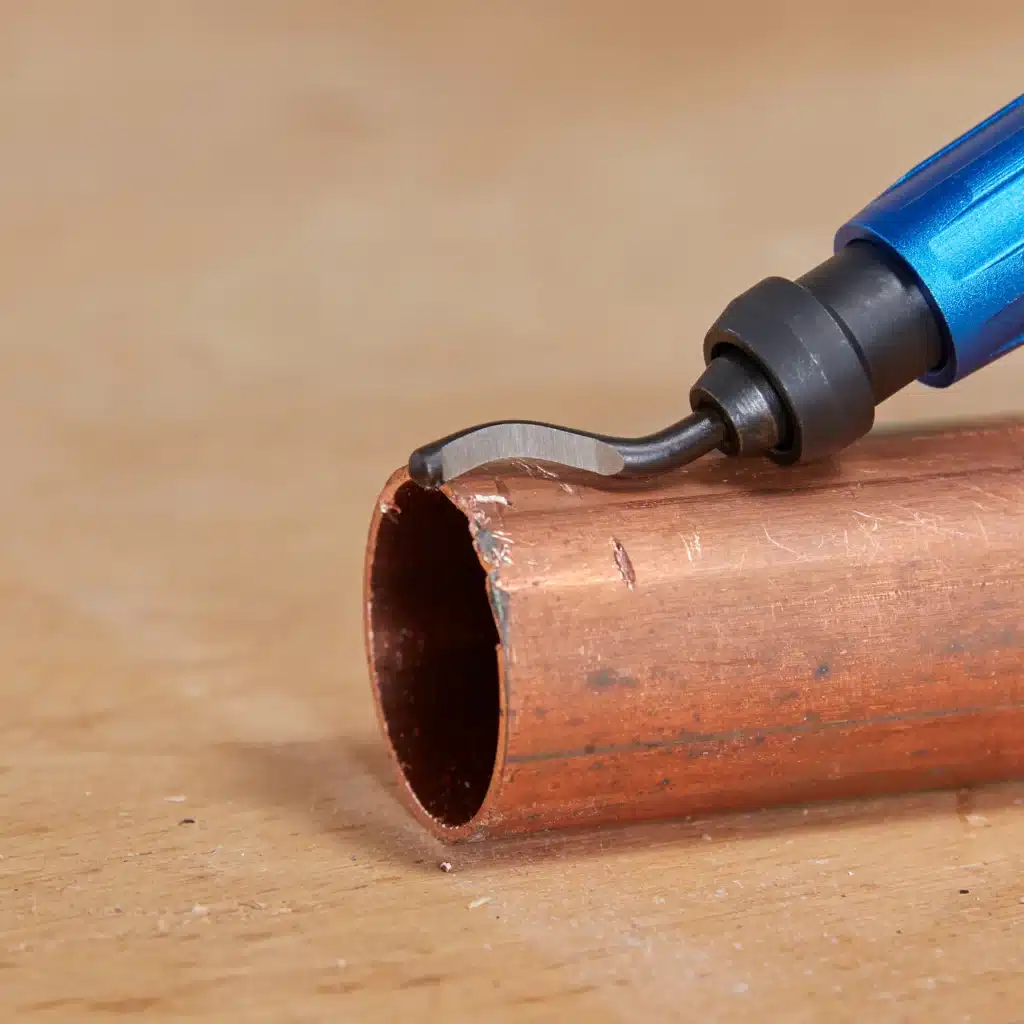
11. Pipe Reamer / Deburring Tool.

After cutting pipes, you’ll want to remove any burrs or rough edges with a pipe reamer or deburring tool.

13 Must-have plumbing tools for house owners

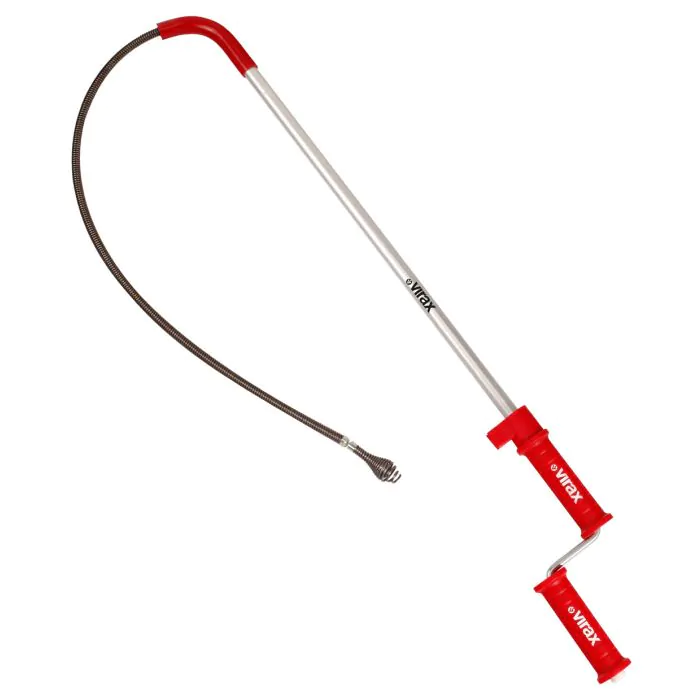
12. Closet Auger.

For clearing tough toilet clogs beyond what a plunger can handle, a closet auger is a specialized tool designed for the job.

13 Must-have plumbing tools for house owners

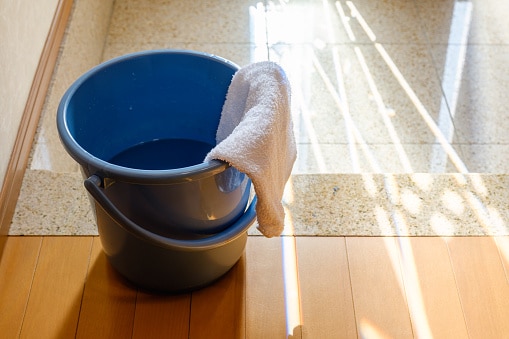
13. Bucket and Towels.

Having a bucket and towels on hand is essential for catching water and keeping your workspace clean while making repairs.

13 Must-have plumbing tools for house owners

Now you know what essential plumbing tools every homeowner should have. However, if you have a difficult plumbing problem in your home, you can call us, we have the best equipment and experts to solve your plumbing problems.

Understanding the Causes of Drain Odors. How to prevent them.

Drain odors can be unpleasant and embarrassing. They often result from factors like trapped food particles, hair and soap scum, bacteria buildup, or sewer gas infiltration. Prevention involves regular cleaning, using sink strainers, and proper maintenance. If odors persist, professional assistance may be needed to address the underlying issue.

Few things can be as unpleasant in a home as a foul smell emanating from a drain. These unpleasant odors can range from mild and musty to downright offensive, but they all share a common source. Understanding why drains sometimes smell is crucial for both prevention and addressing the issue when it arises.

Common Causes:

Food Particles: In kitchen sinks, food particles can get trapped in the drain, decompose, and produce unpleasant smells. Grease buildup can exacerbate the issue.

Hair and Soap Scum: Bathroom drains often accumulate hair, soap scum, and other debris. Over time, these substances can decompose and create odors.

Biofilm and Bacteria: Microorganisms can form a slimy layer called biofilm inside pipes. These bacteria can produce sulfur compounds, leading to foul-smelling odors.

Sewer Gas Infiltration: Sometimes, the odor isn’t from the drain itself but rather from sewer gas infiltrating your plumbing system. This can happen if there’s a malfunction in the drain trap or venting system.

Blocked Vent Pipes: Vent pipes allow sewer gases to escape through the roof and maintain proper drainage. If these pipes become blocked or damaged, odors can permeate your home.

Preventing Drain Odors:

Preventing Drain Odors:

  1. Regular Cleaning: Keep drains clean by regularly flushing them with hot water and using a mixture of baking soda and vinegar to break down deposits.
  2. Sink Strainers: Use sink strainers to catch food particles, hair, and debris before they enter the drain.
  3. Proper Disposal: Dispose of grease and cooking oils in a separate container, not down the sink.
  4. Regular Maintenance: Schedule routine plumbing inspections to catch and address any issues before they lead to odors.
  5. Sewer Gas Prevention: Make sure that drain traps are functioning correctly, and vent pipes are unobstructed.

Addressing Drain Odors:

If you’re already dealing with drain odors, there are steps you can take:

  1. Flush with Hot Water: Pouring hot water down the drain can help dislodge and flush away odor-causing substances.
  2. Baking Soda and Vinegar: Create a mixture of baking soda and vinegar and pour it down the drain. Let it sit for a while before rinsing with hot water.
  3. Drain Cleaners: Use commercial drain cleaners, but be cautious and follow the instructions carefully.
  4. Professional Help: If the odor persists or is accompanied by other plumbing issues, it’s best to consult a professional plumber.

Understanding the causes of drain odors is the first step in preventing and addressing them effectively. Regular maintenance, proper disposal habits, and knowing when to seek professional assistance can help keep your home smelling fresh and clean.

Don’t forget, we boast the finest professional plumbing technicians in LA. Schedule your appointment today, and one of our heroes will pay a visit to your home.

How to Prepare Yourself and Your Home for a Professional Plumbing Service Visit

Preparing for a visit from a professional plumber is essential for efficient problem-solving. Identify and document the plumbing issue, clear the work area, shut off the water supply if necessary, and communicate clearly with the plumber. Asking questions, preparing for payment, and planning for follow-up visits can make the experience smoother and more effective.

When you’re facing plumbing issues at home, calling in a professional plumber is often the best course of action. However, proper preparation can make the plumber’s visit more efficient and ensure that you get the most out of their expertise. In this article, we’ll guide you through the steps to prepare yourself and your house for the visit of a professional plumbing service.

1. Identify the Issue.

Before the plumber arrives, take some time to identify and document the plumbing issue. Make a list of symptoms, such as leaks, slow drains, or strange noises. Knowing the specific problem and its location will help the plumber diagnose and resolve the issue more effectively.

2. Clear the Work Area.

Ensure that the area around the plumbing fixtures or appliances in question is clear of any clutter or obstacles. Clearing the space gives the plumber easy access to the problem area, making their work safer and more efficient.

3. Shut Off Water Supply.

Locate the main water shutoff valve in your home and make sure you know how to turn it off. In case of an emergency or if the plumber needs to work on specific fixtures, being able to cut off the water supply can prevent potential flooding.

4. Communicate Clearly.

When the plumber arrives, provide them with the information you gathered about the plumbing issue. Be specific about any recent changes or events that might be relevant, such as recent repairs or renovations. Clear communication helps the plumber understand the situation better.

5. Ask Questions.

Don’t hesitate to ask questions or seek advice from the plumber. They can provide valuable insights into maintenance and prevention strategies. Understanding the root cause of the issue and how to prevent it in the future can save you time and money down the road.

6. Prepare for Payment.

Be ready to discuss payment terms with the plumber. This includes understanding their pricing structure, payment methods accepted, and any potential additional costs. Having this information upfront can prevent misunderstandings later.

7. Plan for Follow-Up.

In some cases, plumbing issues may require follow-up visits or additional work. Discuss the possibility of future appointments or preventive maintenance with the plumber to keep your plumbing system in top condition.

After reading this comprehensive guide, if you feel prepared to have a plumber visit your home, simply pick up the phone and give us a call to discover the best plumbing services with Kahuna Comfort.


How to Prepare Yourself and Your Home for a Professional Plumbing Service Visit

Preparing for a visit from a professional plumber is essential for efficient problem-solving. Identify and document the plumbing issue, clear the work area, shut off the water supply if necessary, and communicate clearly with the plumber. Asking questions, preparing for payment, and planning for follow-up visits can make the experience smoother and more effective.

When you’re facing plumbing issues at home, calling in a professional plumber is often the best course of action. However, proper preparation can make the plumber’s visit more efficient and ensure that you get the most out of their expertise. In this article, we’ll guide you through the steps to prepare yourself and your house for the visit of a professional plumbing service.

1. Identify the Issue.

Before the plumber arrives, take some time to identify and document the plumbing issue. Make a list of symptoms, such as leaks, slow drains, or strange noises. Knowing the specific problem and its location will help the plumber diagnose and resolve the issue more effectively.

2. Clear the Work Area.

Ensure that the area around the plumbing fixtures or appliances in question is clear of any clutter or obstacles. Clearing the space gives the plumber easy access to the problem area, making their work safer and more efficient.

3. Shut Off Water Supply.

Locate the main water shutoff valve in your home and make sure you know how to turn it off. In case of an emergency or if the plumber needs to work on specific fixtures, being able to cut off the water supply can prevent potential flooding.

4. Communicate Clearly.

When the plumber arrives, provide them with the information you gathered about the plumbing issue. Be specific about any recent changes or events that might be relevant, such as recent repairs or renovations. Clear communication helps the plumber understand the situation better.

5. Ask Questions.

Don’t hesitate to ask questions or seek advice from the plumber. They can provide valuable insights into maintenance and prevention strategies. Understanding the root cause of the issue and how to prevent it in the future can save you time and money down the road.

6. Prepare for Payment.

Be ready to discuss payment terms with the plumber. This includes understanding their pricing structure, payment methods accepted, and any potential additional costs. Having this information upfront can prevent misunderstandings later.

7. Plan for Follow-Up.

In some cases, plumbing issues may require follow-up visits or additional work. Discuss the possibility of future appointments or preventive maintenance with the plumber to keep your plumbing system in top condition.

After reading this comprehensive guide, if you feel prepared to have a plumber visit your home, simply pick up the phone and give us a call to discover the best plumbing services with Kahuna Comfort.